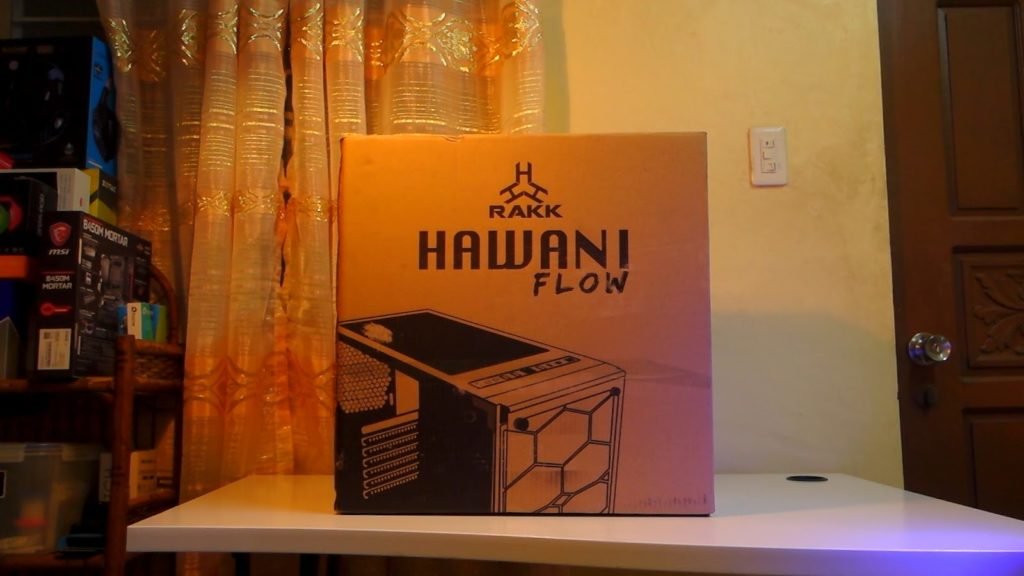
If you’re living here in the Philippines, you probably already know about Rakk Gears, unless of course, you’re living under a rock. But if you’re from another country, then let me introduce you to Rakk gears, Rakk gears is a local brand here that produces fairly affordable but good quality gaming peripherals from keyboards, headsets, mouse and PC case like what we have here today. They are very popular here and receives much success, and I think it’s just a matter of time before they expand and cater to a wider audience, so watch out for them.
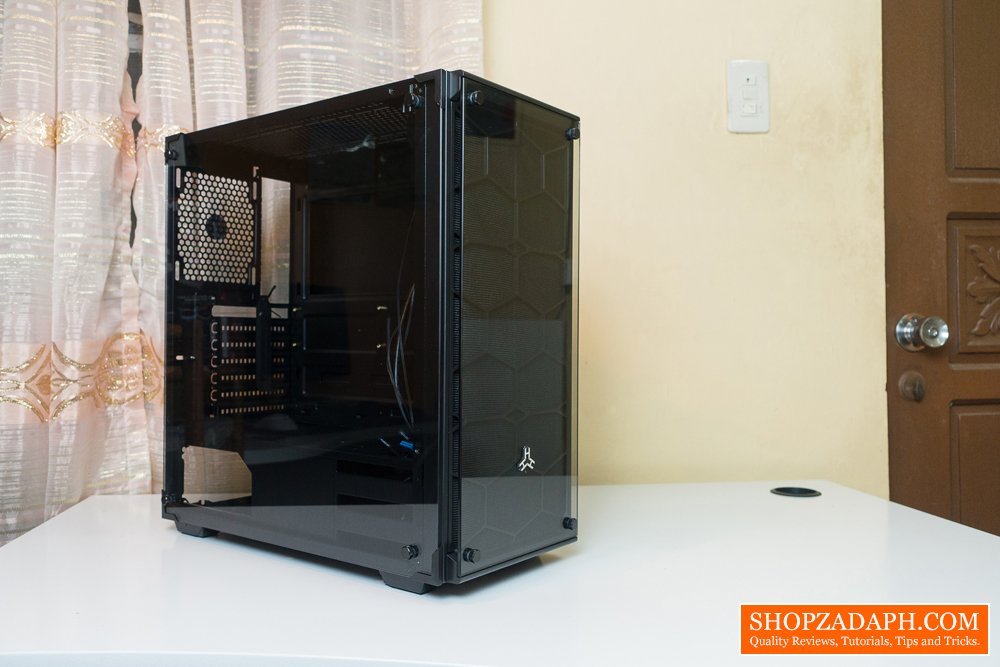
Today, we are going to take a look at their new mid-tower case, the Rakk Hawani Flow. The Rakk Hawani Flow is the much-anticipated upgrade to the ever popular Hawani mid-tower case. The front panel ventilation is now better with a removable dust filter while maintaining the aesthetics it is known for.
MY EARLY BREAKDOWN
Pros: Affordable, Very attractive, Decent build quality, Improved front ventilation with removable dust filter.
Cons: Not enough space to mount a radiator on the top exhaust.
SPECIFICATIONS
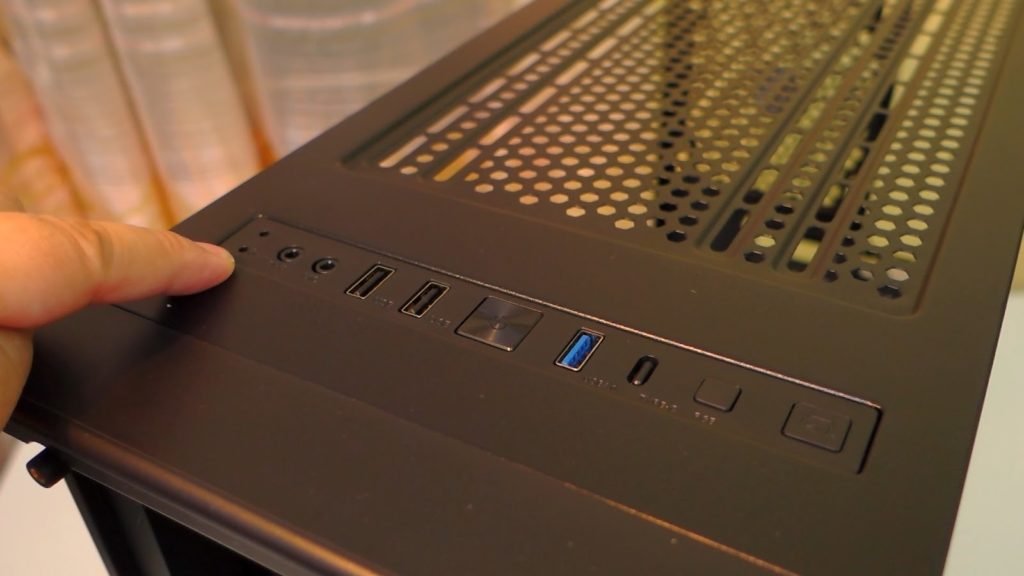
Front Panel IO: LED indicator, 3.5mm input and output ports, USB 2.0×2, USB 3.0×1, Power Button, RGB Button, Reset Switch
Front Panel: Tempered Glass, Removable dust filter
Left Side Panel: 4.0mm Tempered Glass
Case Dimension: 400mm(L) x 201mm(W) x 435mm(H)
Motherboard Compatability: EATX, ATX, MicroATX, Mini ATX
Drive Bay: 3.5×3, 2.5×4 + extra 2.5×2 on the ssd tray at the back
Front Panel Fan: 120mm x 3 or 140mm x 2 or 240mm radiator
Rear Panel Fan: 120mm x 1
Top Panel Fan: 120mm x 2 or 140mm x 2
FULL REVIEW
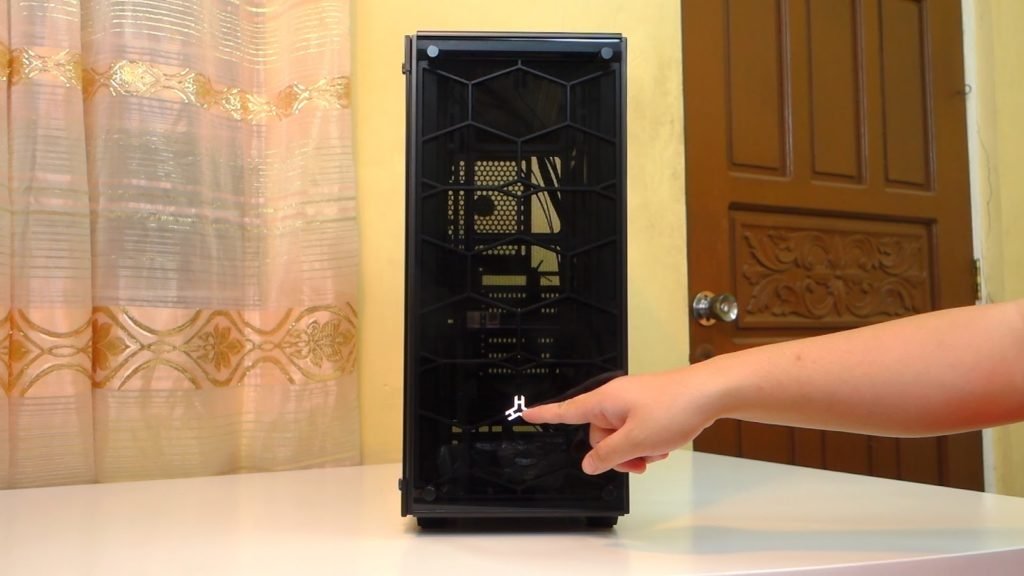
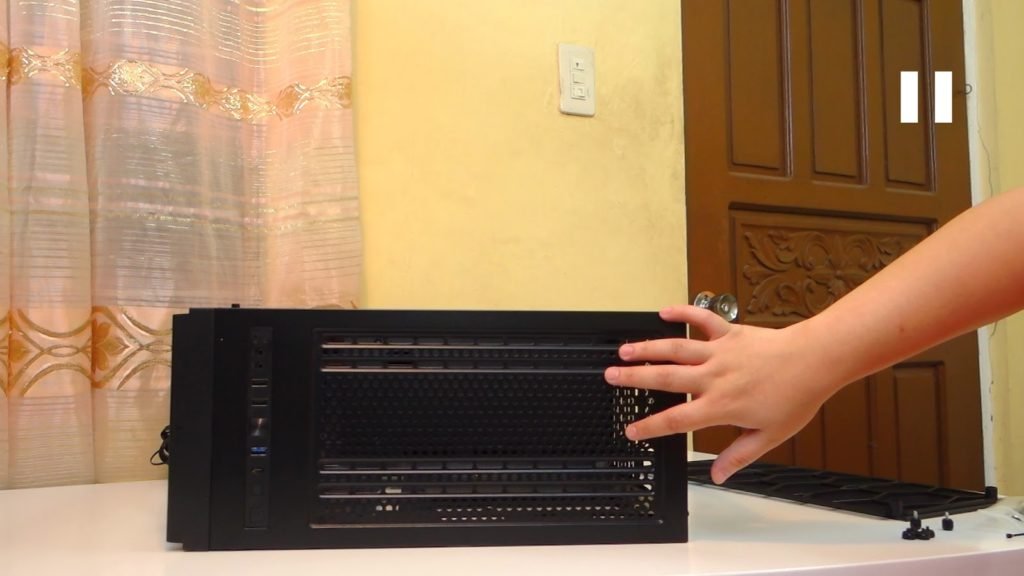
Let’s start with the front panel where most of the improvements were made.
At the bottom center, we have the Rakk logo, the front glass panel itself is mounted with 4 thumb screws and the side gap is now fully exposed with a substantial ventilation space.
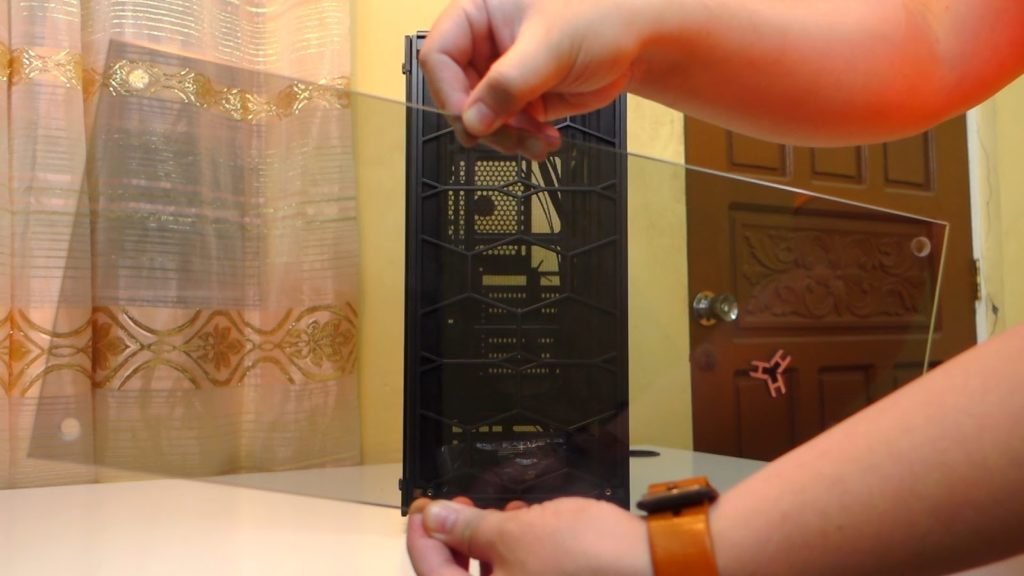
The thickness of the front panel tempered glass is the same as the side panel which is 4.0mm and it also has the same tint. Removing it is pretty straightforward, you just have to remove the four screws using your thumb while providing support to make sure it will not fall down and break.
Here’s a closer look at the front panel tempered glass.
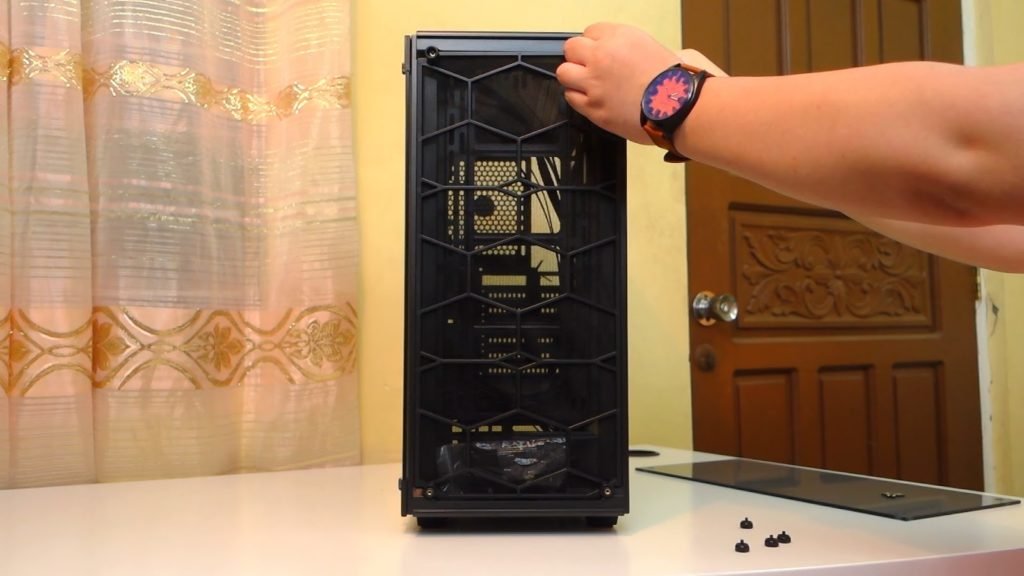
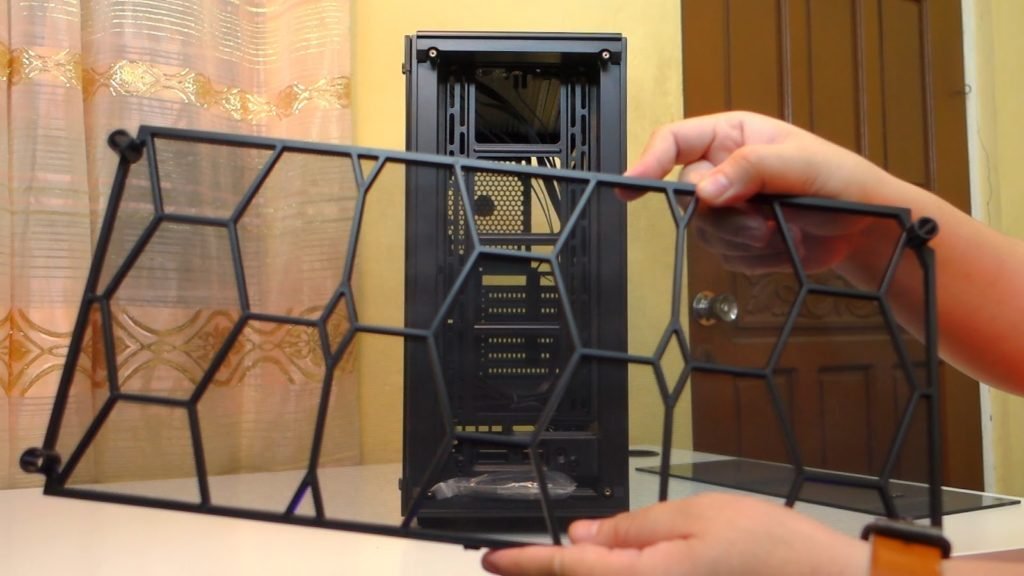
Underneath the front panel glass, we have the new removal dust filter, it has the same honeycomb design as it’s predecessor with a very dense filter material.
Removing the filter is also quite easy, you just have to pull it gently from each corner.
We also have the accessories, three rubber grommets with 3M adhesive tape are included, which is very well appreciated and one of the most asked questions about this case.
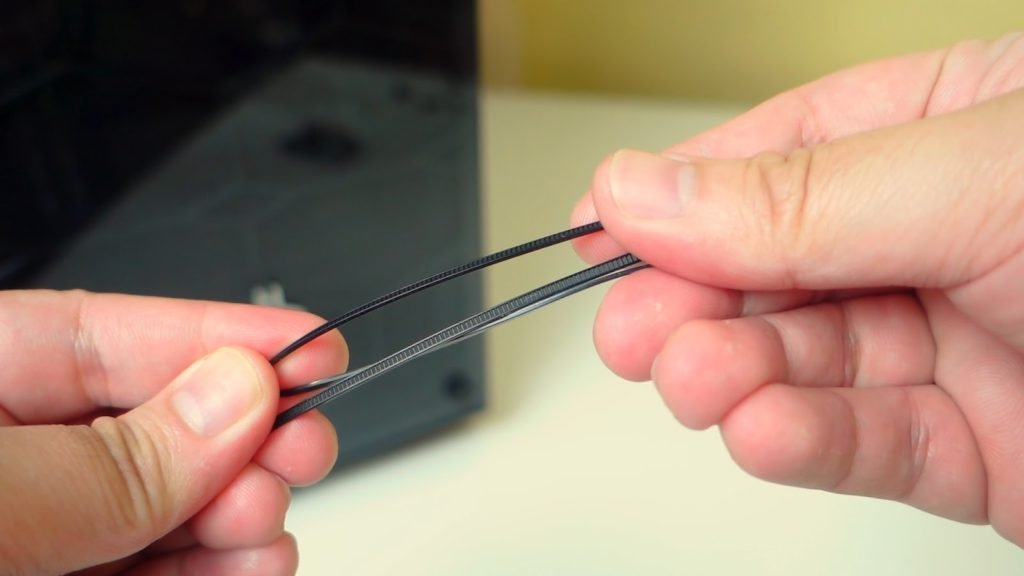
We also have three zip ties for cable management.
And all the necessary screws and motherboard standoffs.
Back in front, you can mount up to 3 x 120mm fans or 2 x 140mm fans, you can also mount a 240mm radiator and the mounting points are quite adjustable. At the bottom, we have the mounting point for 3 x 3.5″ hard drives.
Moving to the side, we have the 4.0mm tempered glass side panel, It also has the same thumb screws on all four corners. But what’s new about this is that it has this protective plastic cover on its corners to prevent it from unnecessary damage when it is being handled.
Just like the front panel, removing it is pretty straight forward. My advise for you guys to prevent any damage or unnecessary breakage on your tempered glass, is to not put any pressure when mounting the screws, what I mean by that is you just have to screw it at just the right amount without over tightening it. Even if you screw it lightly, the front panel will never fall on its own unless you move your case quite frequently.
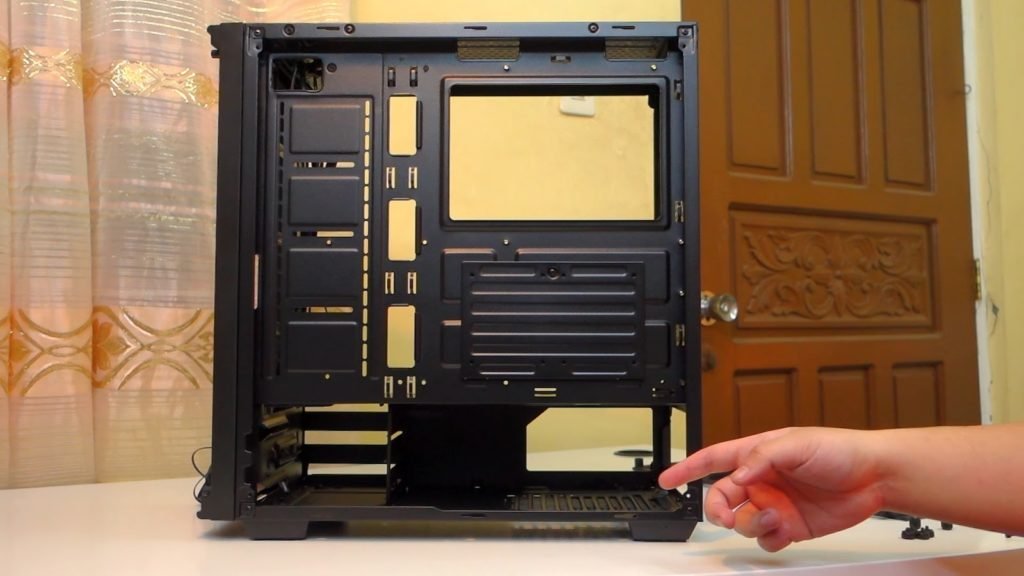
Removing the side panel reveals the internals, which I believe is almost identical to its predecessor. We have some cutouts for the hard drive bays as well as for the PSU. It has holes at the bottom to route your cables but it doesn’t have any mounting point for case fans.
Inside we have 4 mounting points for 2.5″ storage devices, beside it are the holes for the cables wherein we can attach the included rubber grommets. The case has preinstalled motherboard standoffs so make sure to check with your motherboard if you need to add or remove any of these before placing the motherboard inside.
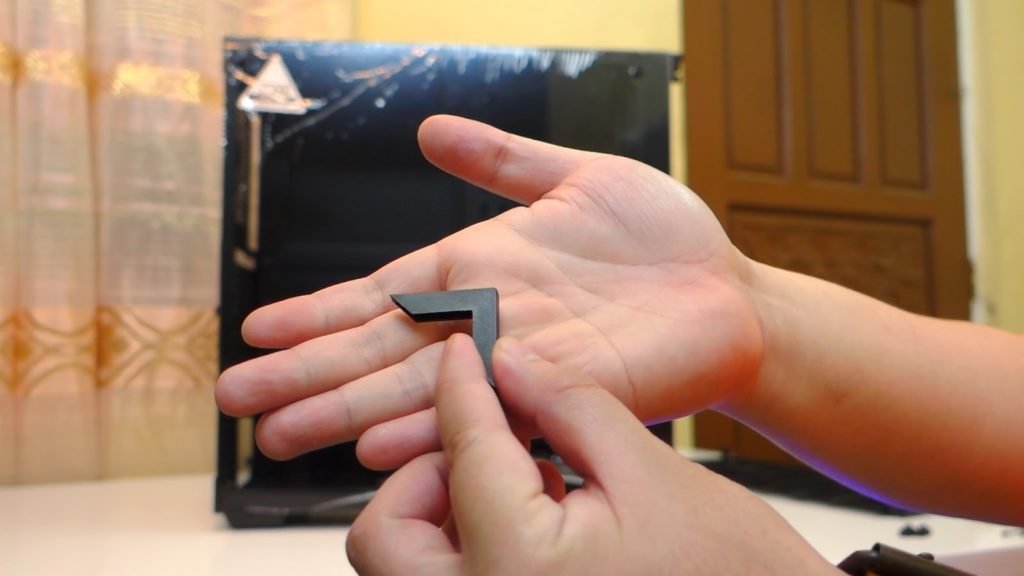
As a mid-tower case, this has 7 PCIe slots, one of which is already removed with a single plastic PCIe remountable cover.
At the back of the case, we have the PSU mounting points at the bottom, and then a removable cover for the PCIe slots. At the top left we have the IO cutout and then beside it, you can mount a single 120mm fan with a little bit of adjustment.
At the other side of the case, we have the standard metal cover, and removing it reveals the cable management area which is pretty substantial compared to my old case, which is the
Rakk Anyag.
Again we have the 3.5″ bay at the bottom left side where you can mount up to 3 hard disks, and then on top of it, we have mounting points for up to 4 2.5″ drives. This case has in-place cable management points wherein you can use zip ties to manage the cables. It also has an additional SSD tray where you can mount two 2.5″ drives.
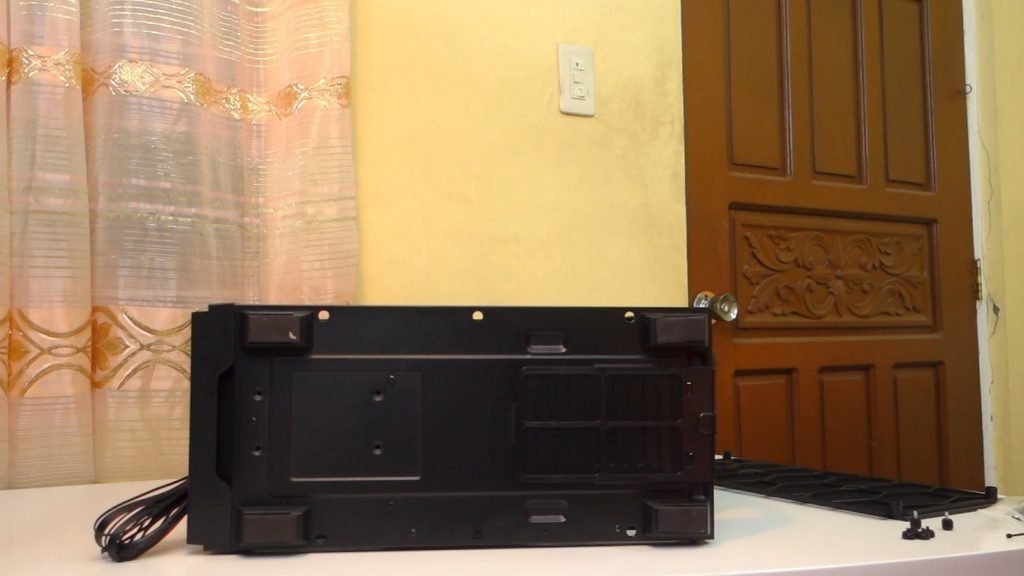
Flipping the case, we have on its bottom, four rubber feet, and a removable dust filter to protect your power supply.
At the top of the case, we have the massive removable dust filter, I think it is made of flexible plastic with magnet strips.
And then right here you can mount up to 2 x 120mm or 2 x 140mm case fans with some adjustment period like most of the mounting points on this case.
With regards to the IO, we have the led indicators for power and drive activity, we have the 3.5mm input and output ports, 2 USB 2.0 ports, the power button, a single USB 3.0 port, an option for a USB Type C port, the RGB switch, and the Reset switch.
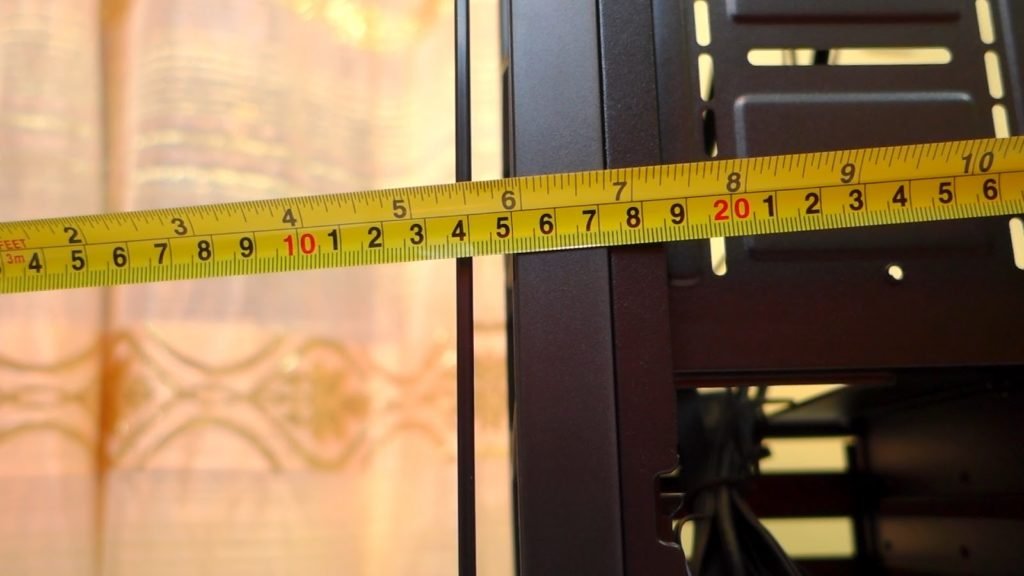
Now, Let’s move on to the proper measurements of this case.
The Rakk Hawani Flow’s dimensions are 435mm in Lenght, 201mm in Width and 451mm in Height.
It is compatible with EATX, ATX, MICRO ATX, and MINI ATX motherboards.
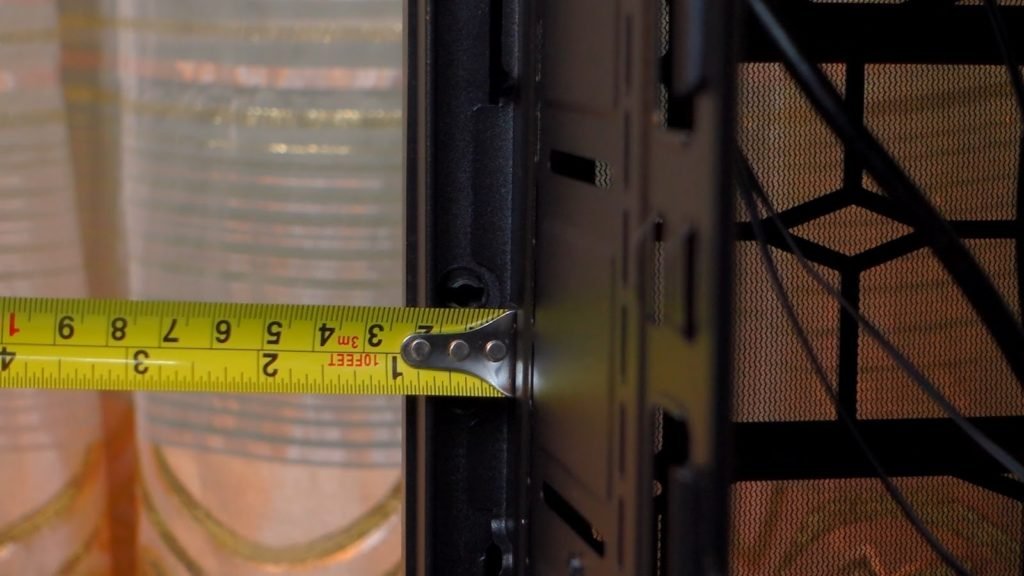
The front panel ventilation gap measures at around 1cm.
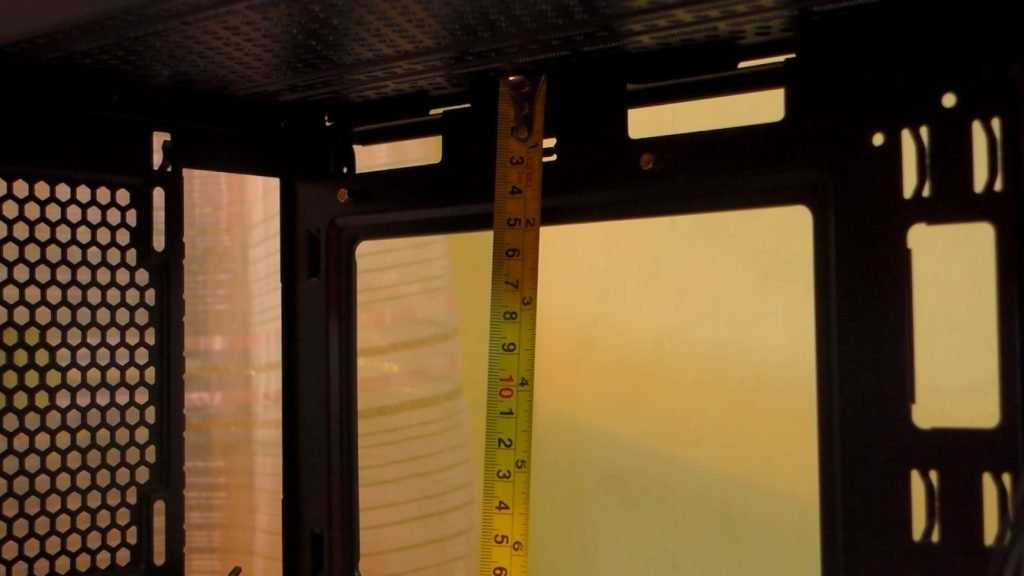
The PSU shroud is around 27cm up until the hard drive bay.
And the back side space for cable management measures at around 1.5cm.
VERDICT
Like it’s predecessor, this case is certainly an eye candy with its dual tempered glass design. But unlike its predecessor, the Hawani Flow has a big advantage in terms of better airflow thanks to it’s improved front panel design.
Rakk gears certainly heard the suggestions of its customers and improved their If I can say so, their “Flagship” case. The only problem is that old Hawani users can not just order the removable dust filter and place it on theirs since the implementation of the front panel is different on both cases.
However, I was able to get a confirmation that the whole front panel is compatible with the old Hawani, I am just not sure if they will offer that separately in the future.
The Hawani Flow has decent build quality for its price, has an ample amount of cable management space to work with, and a ton of storage space to populate.
If there’s one thing that I don’t like with the Hawani Flow, is that it lacks an ample amount of space to be able to mount a radiator on the top exhaust. As a mid-tower case, it could have been better if they were able to adjust that with the new version, but then again, almost everything on its internals are the same with the old one, so there’s that.
And that’s pretty much it for this review guys, there will be a part two of this where I change my case from my Rakk Anyag to this one, and I’ll give you guys my feedback in terms of the overall experience building inside this, and of course, we’ll conduct a thermal performance difference between those two cases. Huge thanks to
Rakk Gears for sending this in, this is very timely as I am really planning to upgrade my case for a long time now. You can get this from their official website and partner stores link below.
Rakk Hawani Flow Mid Tower Case Review – New and Improved
Thanks to
Rakk Gears for making this review possible, you can get this from the link below.
If you like this one, please consider subscribing to my channel by hitting the button below. Have a great day!
WHERE TO BUY:
LAZADA: Rakk Hawani Flow Mid Tower Case
- Enjoy Cash on Delivery and Nationwide Shipping on Lazada
- Price may vary depending on existing promos
- The views and opinions on this review are solely based on my own personal experience, your results may vary
——
Thank you for dropping by, don’t forget to check out my other Reviews and Subscribe if you like. Cheers!
More contents to check out!
SHARE THIS
The Broll who always got your back online!