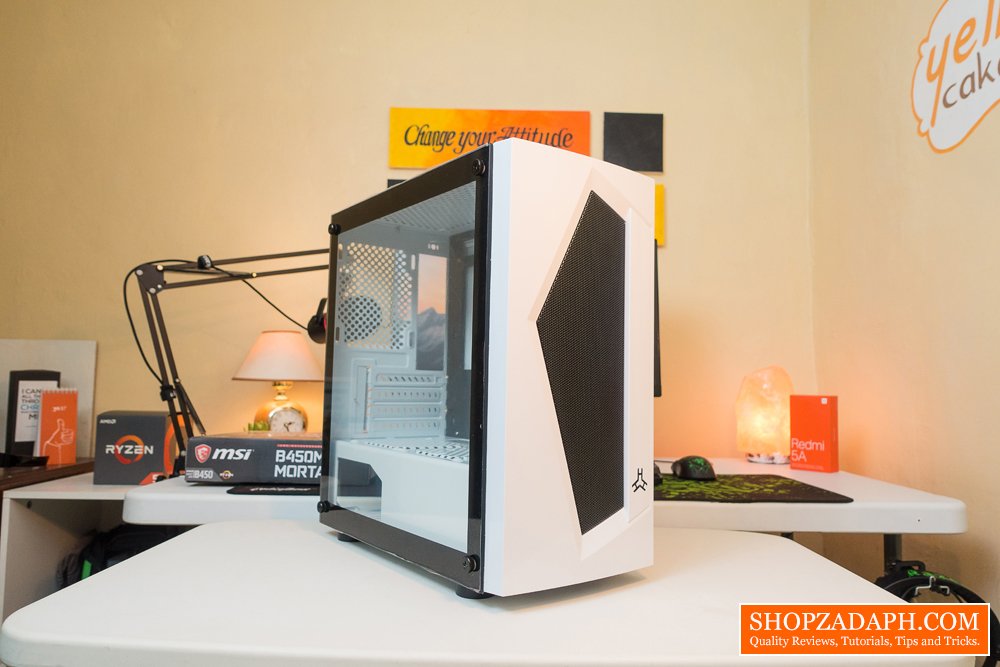
Since I’ve started planning for my PC Build I’ve set my eyes on the Tecware Nexus M because of it’s small Micro-ATX form factor and a desirable black and white color scheme. However, by just looking into its front panel it’s pretty obvious that the airflow is somehow restricted and it being a small case certainly won’t help with the overall airflow.
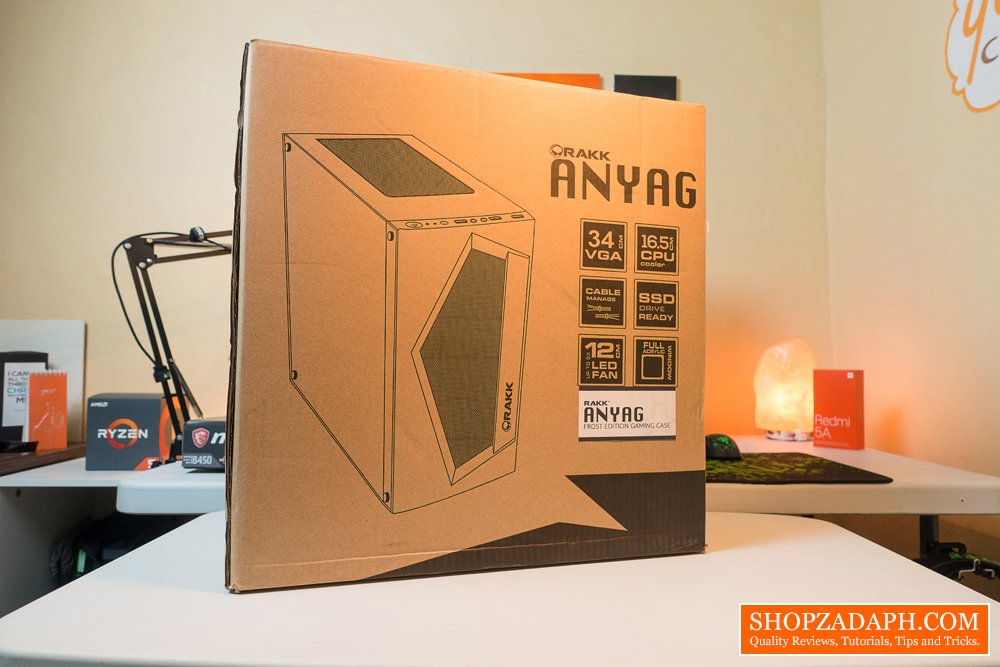
Luckily, I was able to find a better alternative with virtually the same specifications in the form of the Rakk Anyag Frost Micro-ATX case. Almost the same design both in and out except for the front panel and that the Rakk Anyag Frost doesn’t come with free pre-installed fans but to its defense, it’s a tad cheaper at around $24 compared to Tecware Nexus M which is around $27.
MY EARLY BREAKDOWN
Pros: Affordable, Good design, With magnetic dust filter
SPECIFICATIONS
Case Type: Micro
FULL REVIEW
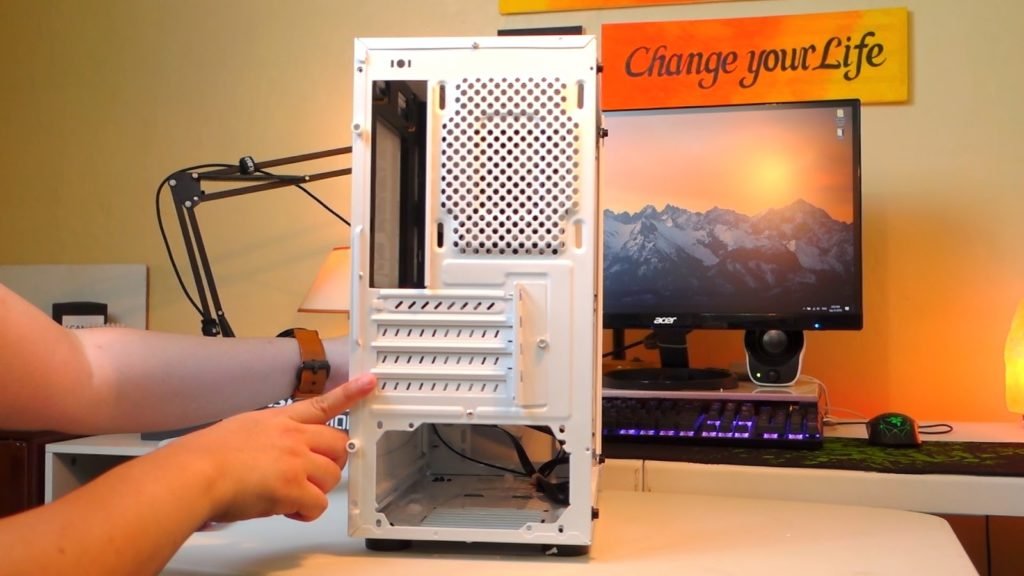
In terms of design, it’s kinda unique in a way with its polygonal cutout and honeycomb design on the front panel but aside from that, it’s basically the same with the Tecware Nexus M.
It’s worth noting however that the Rakk Anyag Frost edition has a revised logo in front and an upgraded 4.0mm tempered glass compared to its predecessor, the black Rakk Anyag that uses an acrylic side panel and has the old logo.

The overall construction of the Rakk Anyag Frost is decent, it’s not the best especially at some parts where the metals are a little bit thin and flexes when you put pressure on it. Unless you toss it around, I don’t think the case will break apart on its own.
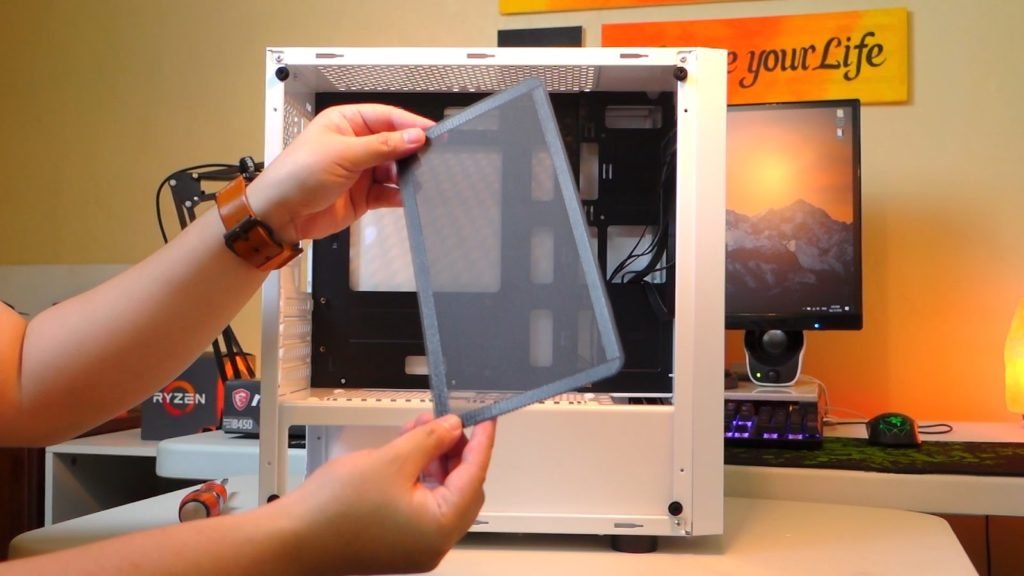
The 4.0mm tempered glass is held up by 4 screws which can be removed easily by hand or by using a screwdriver if necessary.
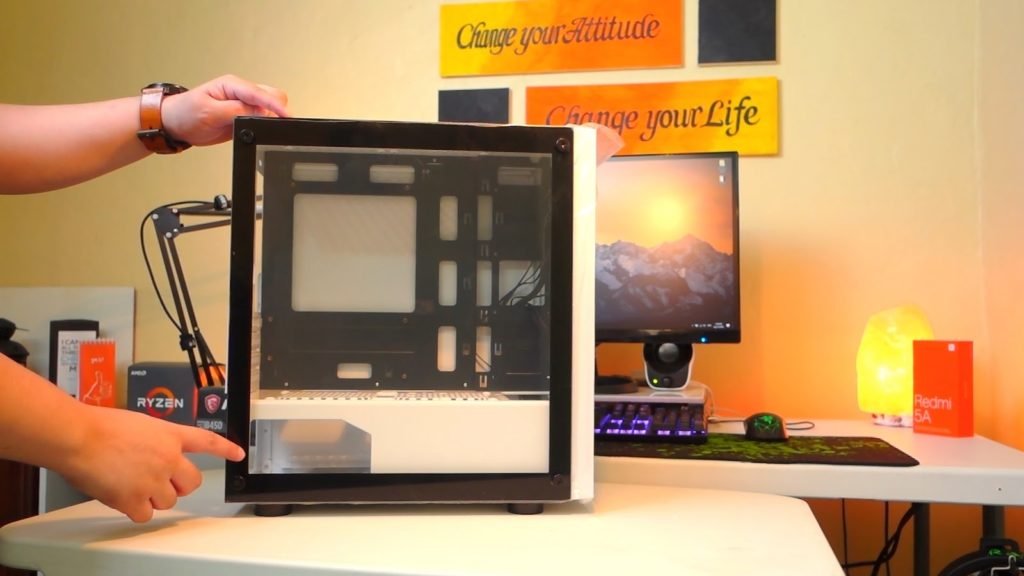
Removing the side panel reveals the internals, we have a PSU shroud which unfortunately is not removable but at least it has mounting points for 2 120mm fans and a 2.5inch hard drive below it.
The cable management holes don’t have rubber grommets which I guess is one way to reduce its cost. But at least it has premounted motherboard standoff, which is nice but you would still want to double check your motherboard just in case you need to remove or add more.
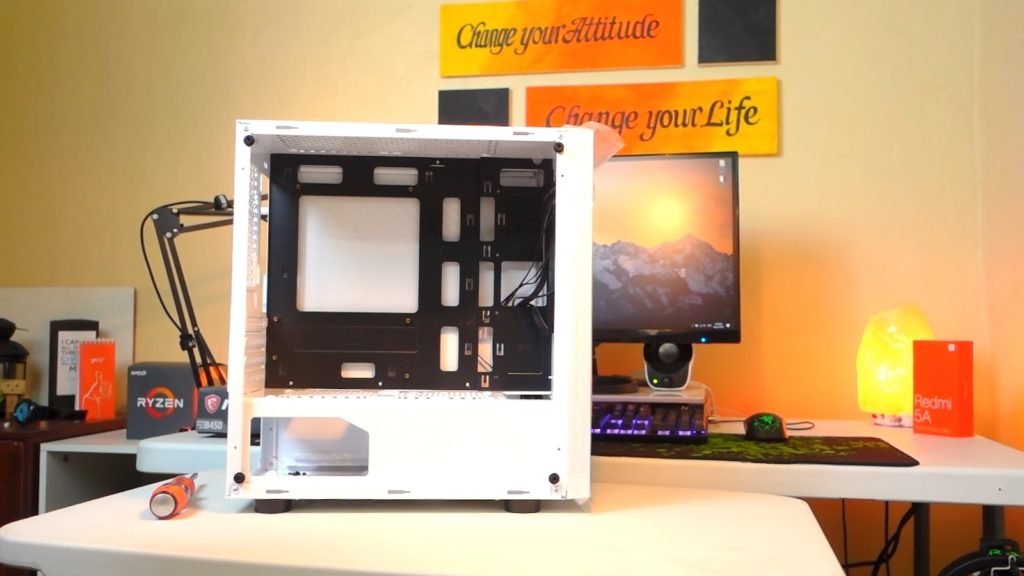
At the top, you can install 2 120mm fans and in front, you can install 3 120mm fans. We also have 2 mounting points for a 2.5inch SSD at the right side of the case near the front panel.

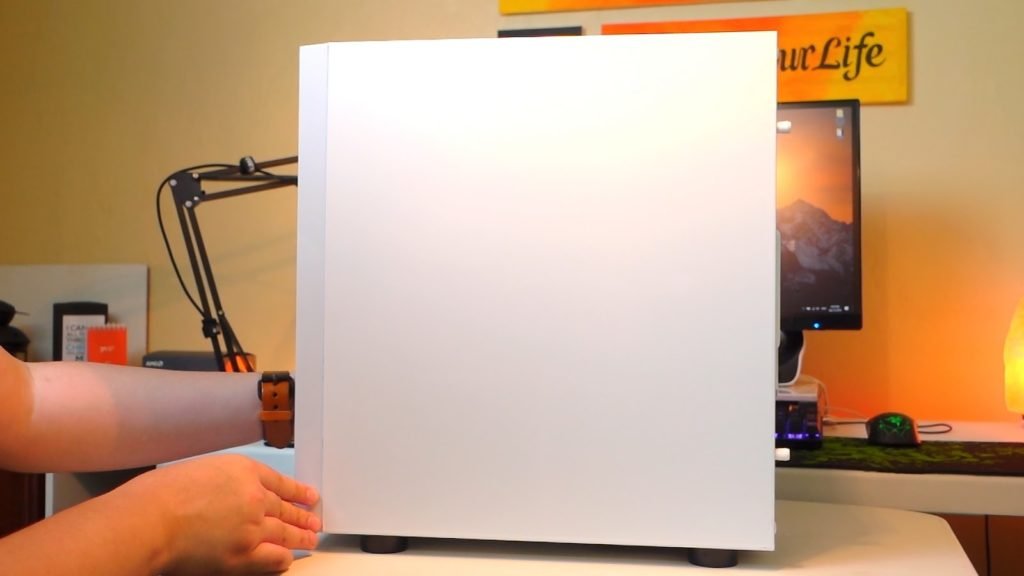
At the other side, it’s just plain white. No fancy design whatsoever which I personally prefer.
At the back, we have the PSU mounting slot, 3 non-reattachable PCI-E covers with one reattachable cover on the first slot. We also have here another mounting point for a 120mm fan which is adjustable.
At the top of the case, we have a very well appreciated magnetic dust filter.
And another dust filter at the bottom below the PSU. We also have here at the bottom 4 plastic feet and a mounting option for a hard drive.

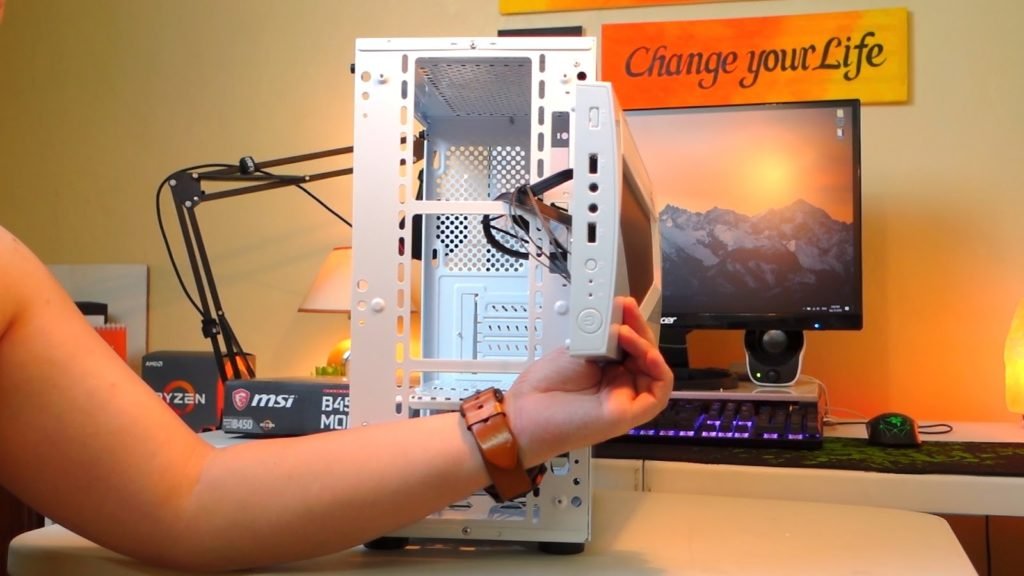
Removing the front panel is a little bit challenging at first, but one technique I figured out is to pull it below with a little bit angle towards one side as hard as you can while maintaining control of the front panel to not mess up the wiring once it finally snaps out of the case.
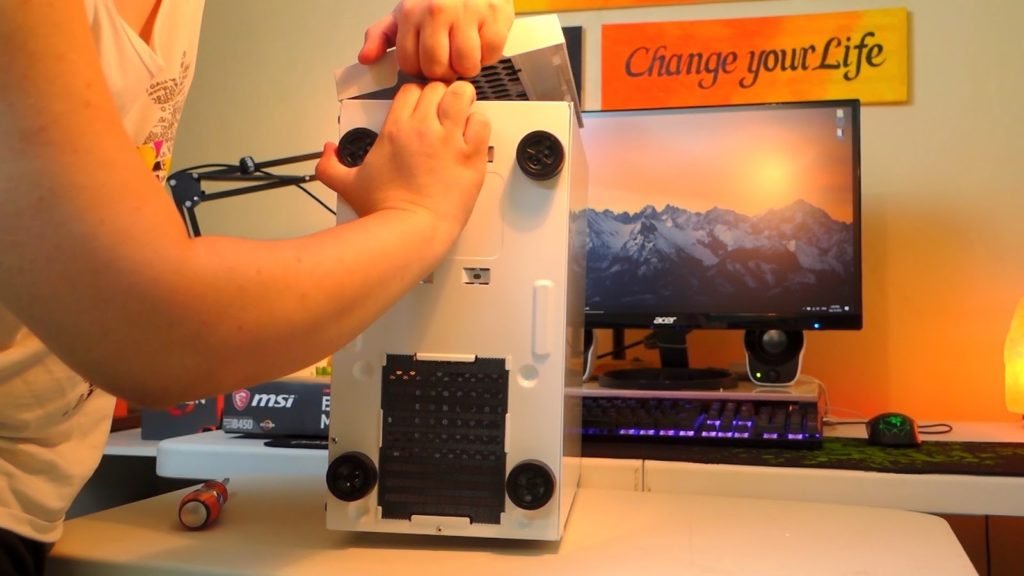
Opening up the front panel reveals the 3 mounting points for 120mm fans that I’ve mentioned, it’s adjustable in some degrees with different mounting holes.

Looking at the back of the front panel we’ll see the honeycomb pattern but unfortunately, there’s no removable dust filter.
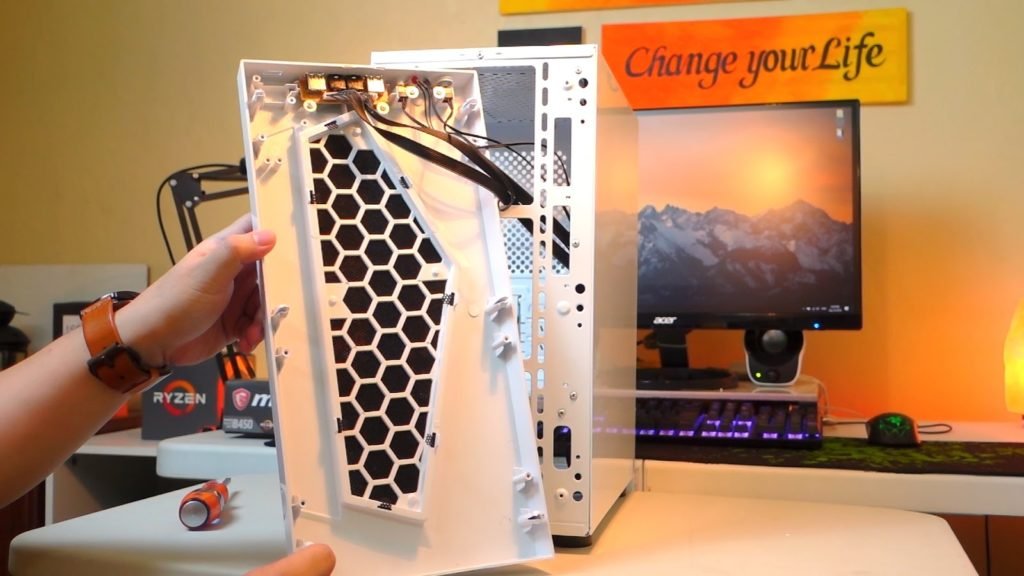
With regards to the front IO we have the power button, the LED indicators, reset switch, 2 USB 2.0 port, 3.5mm jack for input and output and an option for another USB port if you so desire to add one like a USB 3.0 for example.
Removing the back panel requires removing 2 screws which can be removed by hand or by a screwdriver. At the back, as I’ve mentioned you can mount two SSDs and that the holes don’t have rubber grommets. The spacing here looks like a bit tight and might propose some challenges with cable management. But at least it has some in place cable management points wherein you use some zip ties or velcro straps to aid with your cable management.

VERDICT
Will I Recommend This? Yes!
To conclude, my overall impressions are pretty positive and I feel like it’s just about the right size for my intended build and setup. The aesthetics with the polygonal front panel design is also nice and the overall black and white look is very pleasing. The front panel ventilation is also a nice bonus and might be the deal settler for this compared to the Tecware Nexus M which is pretty much similar across the board. The only thing I’m worried about this is the cable management but I think with proper skills anyone can pull it off.
Related Article:
Rakk Anyag Frost Review and Unboxing

WHERE TO BUY:
EASY PC: Rakk Anyag Frost Tempered Glass
RAKK.PH: Rakk Anyag Frost Tempered Glass
- Price may vary depending on existing promos
- The views and opinions on this review are solely based on my own personal experience, your results may vary

The Broll who always got your back online!