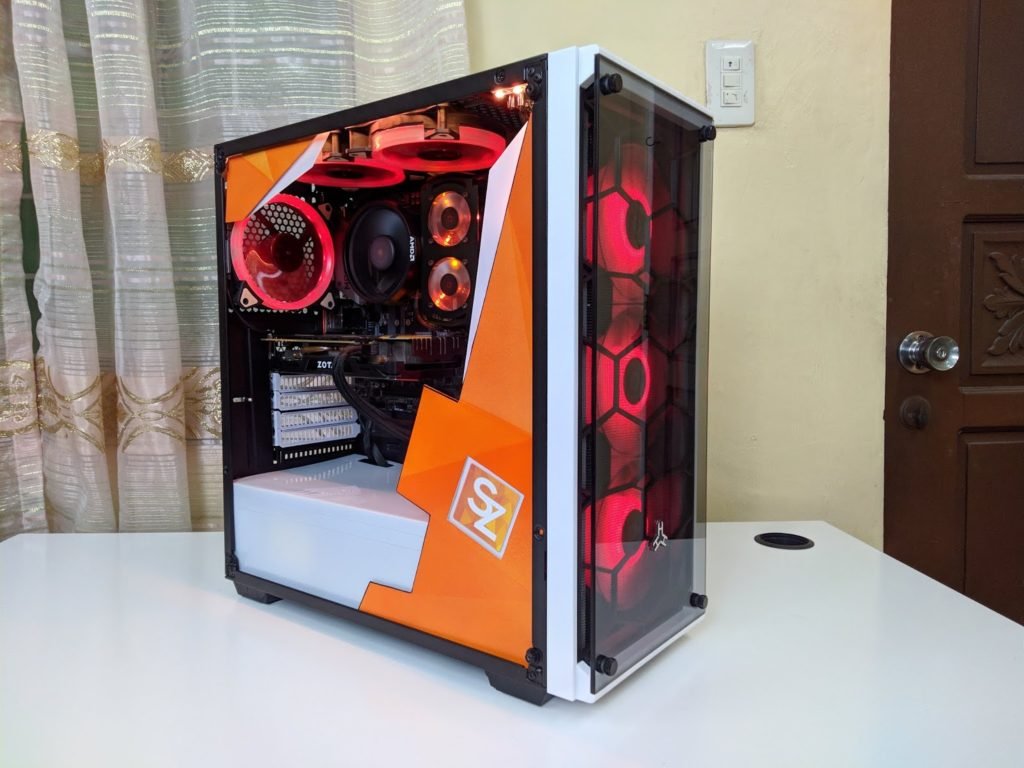
Modifying a PC case should not always be expensive, sometimes it only takes creativity and imagination to add a little bit of flair to your PC. Today, I’ll show you how I modified my Rakk Hawani Flow mid-tower case for just under 500 pesos. I’m also going to share with you my experience building inside this as well as its thermal performance compared to my old case, the Rakk Anyag Frost.
Rakk Hawani Flow Case Modification
First things first, I am not an expert on this so take everything with a grain of salt and feel free to comment down below in case you need to correct something from this project. So for this project, I’ll be using some acrylic spray paint, some vinyl wrap, illustration board, and plastic folder.
Total Cost: 494 Pesos
340 – 4 cans of acrylic spray paint
40 – Illustration board
14 – Plastic folder
100 – Vinyl wrap
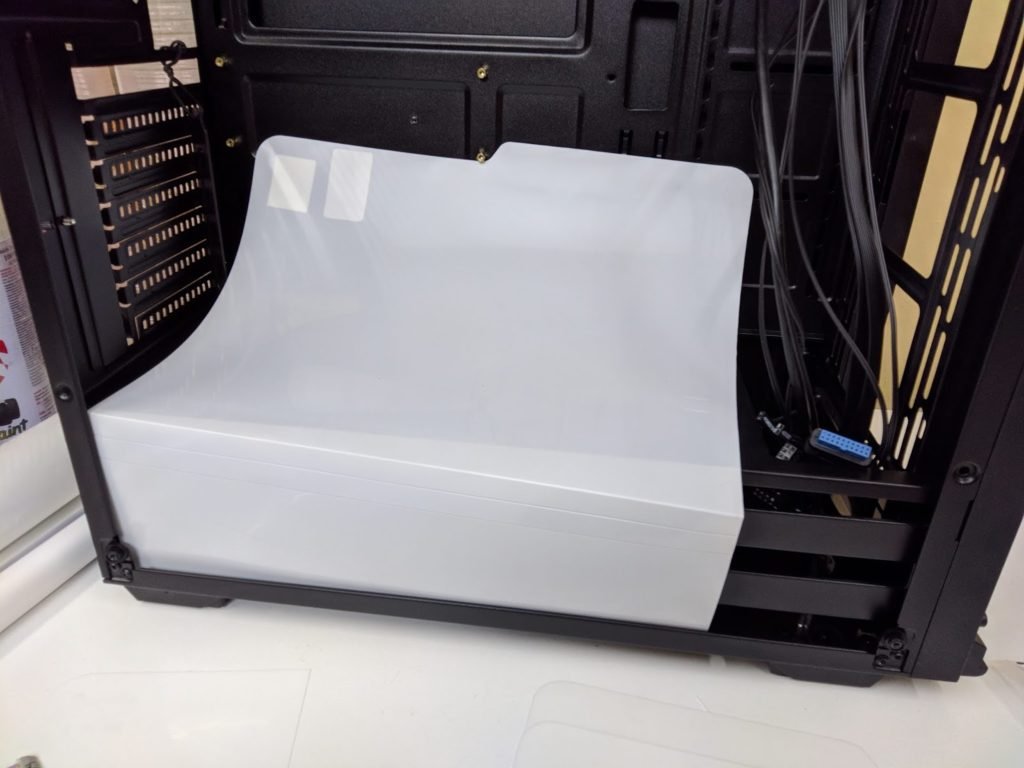
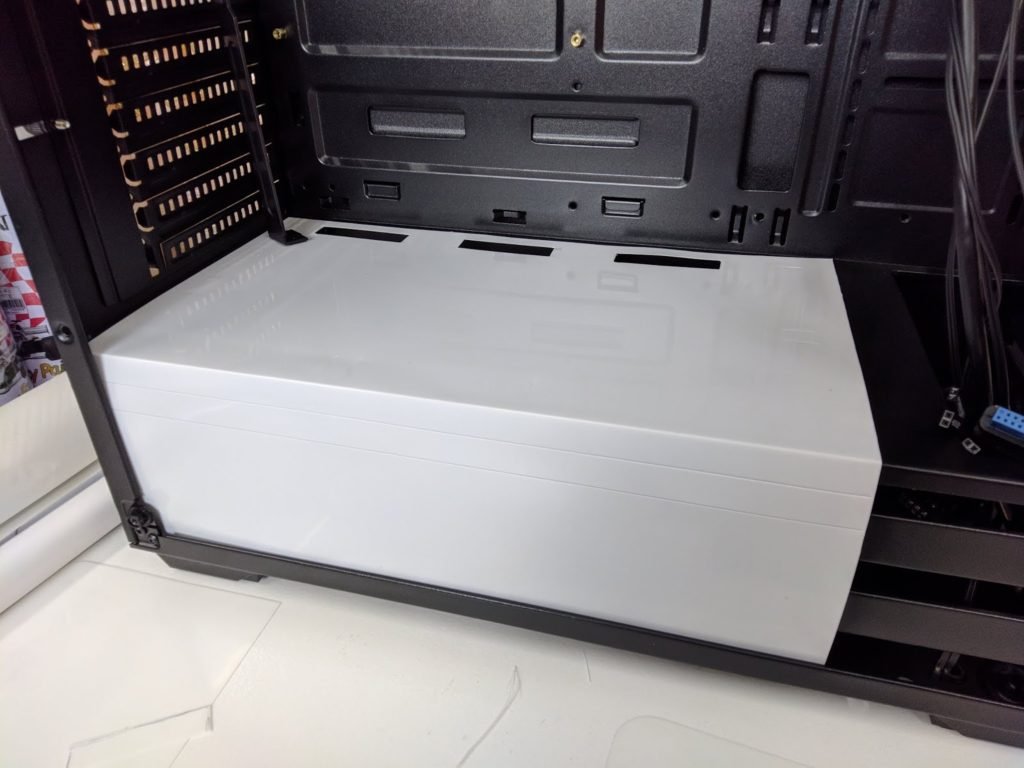
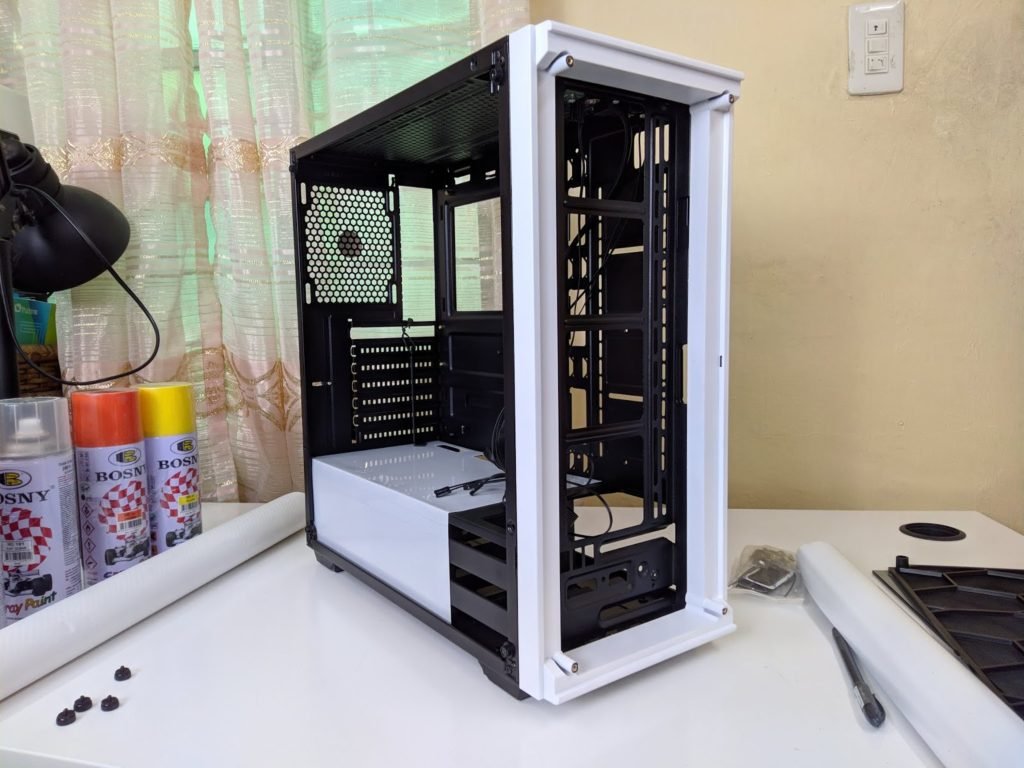
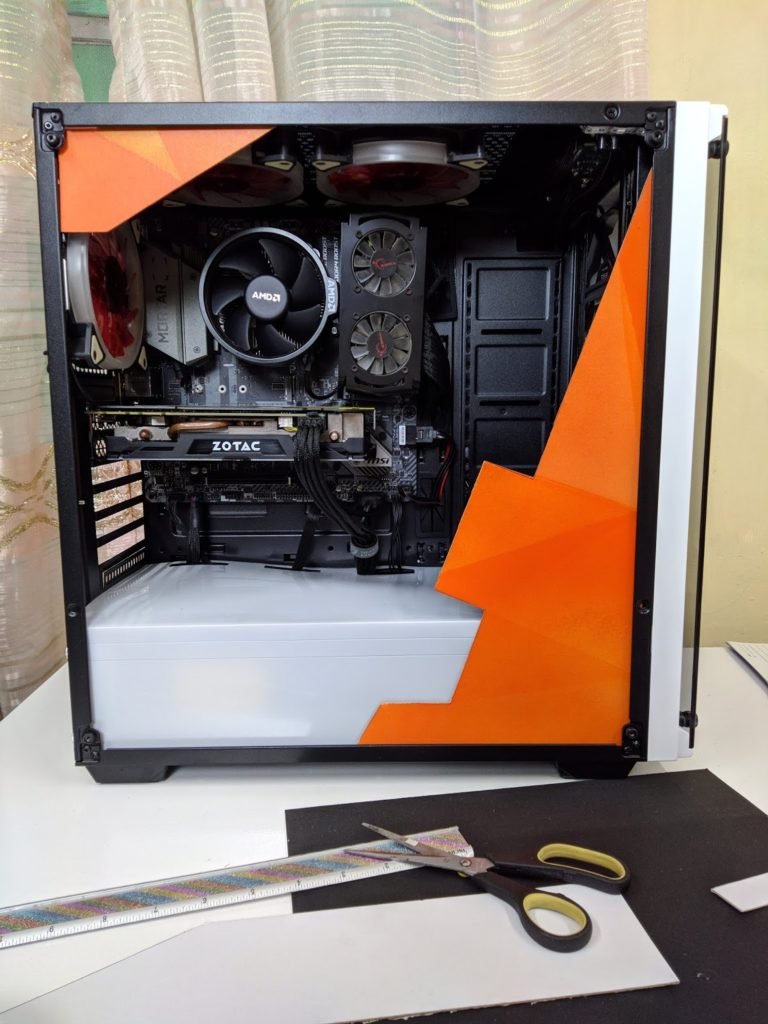
Like I said this is going to be a semi-permanent modification so instead of painting the metal parts of the case like the PSU shroud, we’re just going to use a white plastic folder so that we can easily attach and remove it if we want to.
It’s not going to be the prettiest implementation but it’ll do just fine for our purpose, which is to add a touch of white with this black case. The middle part of the folder is perfect for the bend of the PSU shroud, I just had to cut it in size, cut some holes on it for the cables to pass through, and simply slide it in.
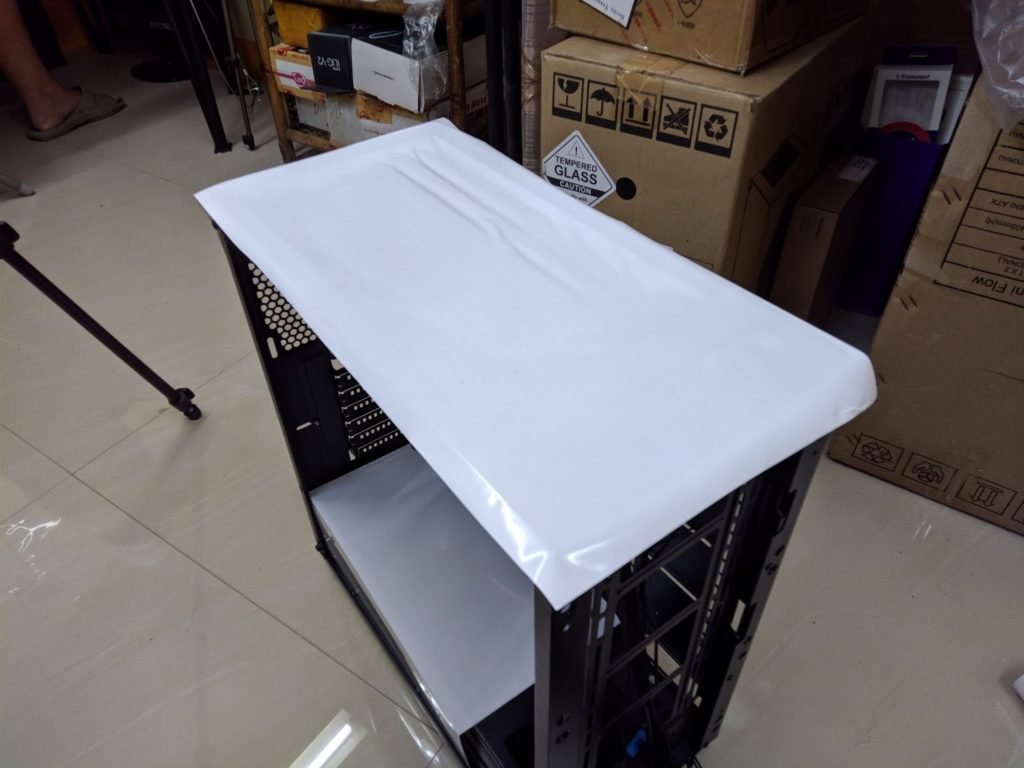
Now for the top part of the case, again instead of painting it which will take a lot of time and effort, like removing the old paint, sanding and all that hassle, I decided to just wrap it with white vinyl. With this, we can easily peel this off if we want to later down the road.
Applying the vinyl wrap is pretty straight forward, just apply it gently while preventing any bubbles along the way, you can use a card to smoothen the surface and a hair dryer or heat gun to allow the vinyl wrap to properly stick with the surface. Once done, you just have to carefully cut the vinyl wrap with a xacto knife. The quality of the cut will depend on your skill and patience, so take your time.
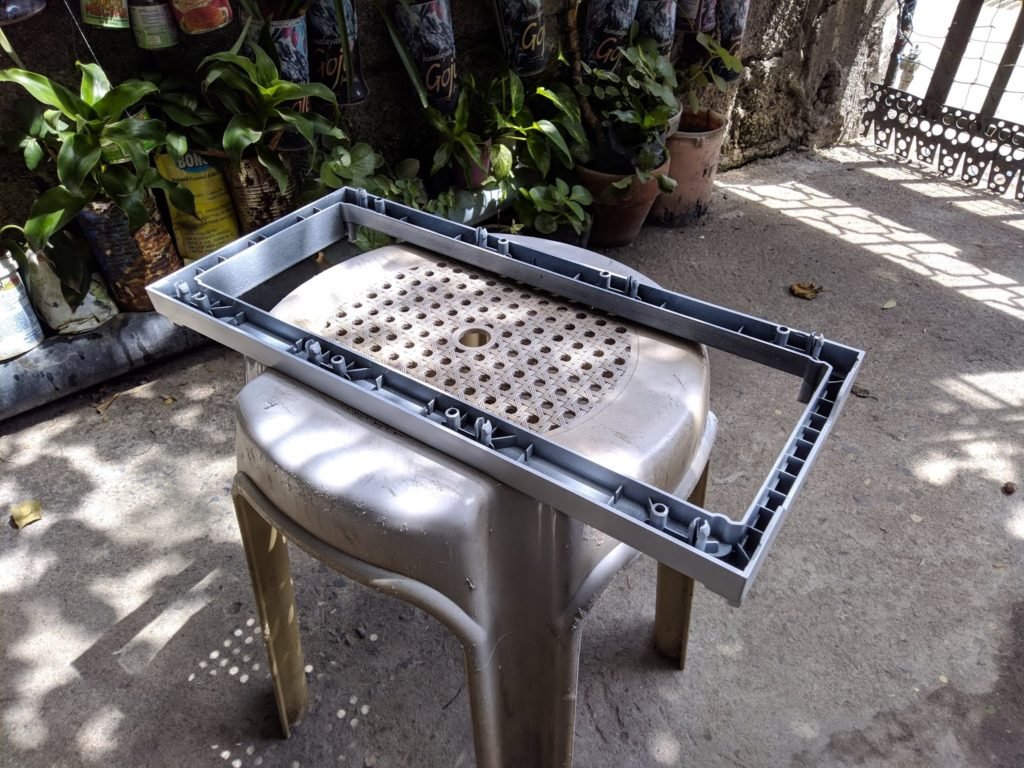
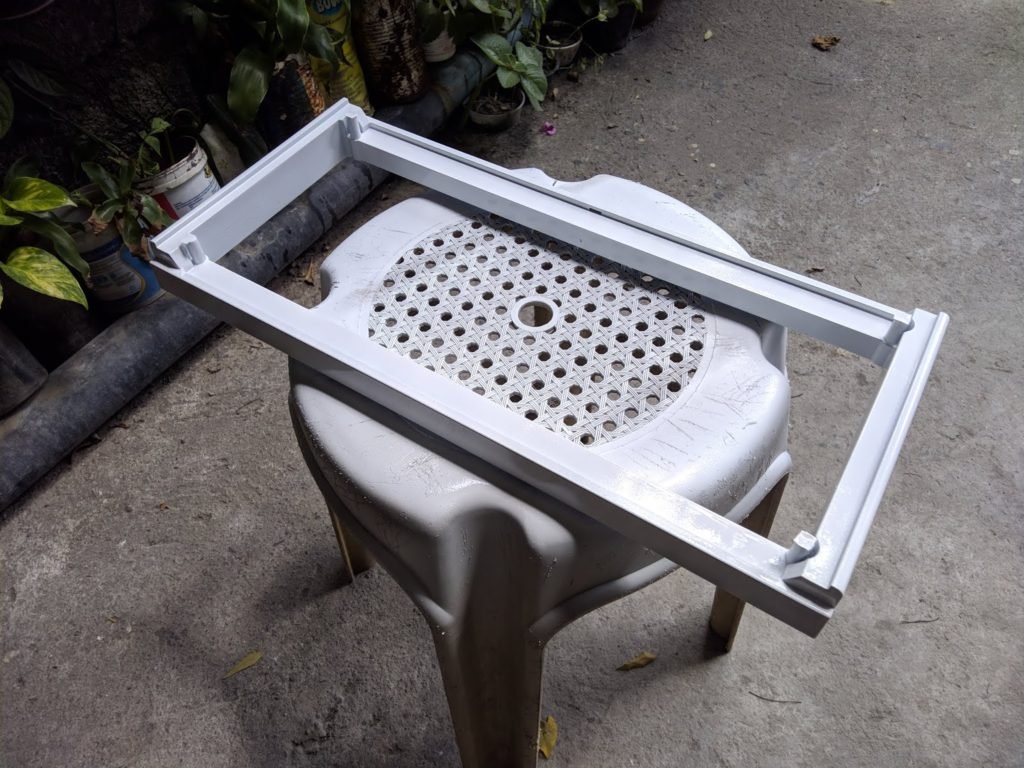
After sanding I did 3 coatings of white acrylic spray paint and 2 coatings of flat clear to remove the glossy white sheen. Make sure to allow the paint to dry in between coatings.
Once dry you can reattach it back to the front of the case, as you can see, it’s now looking better.
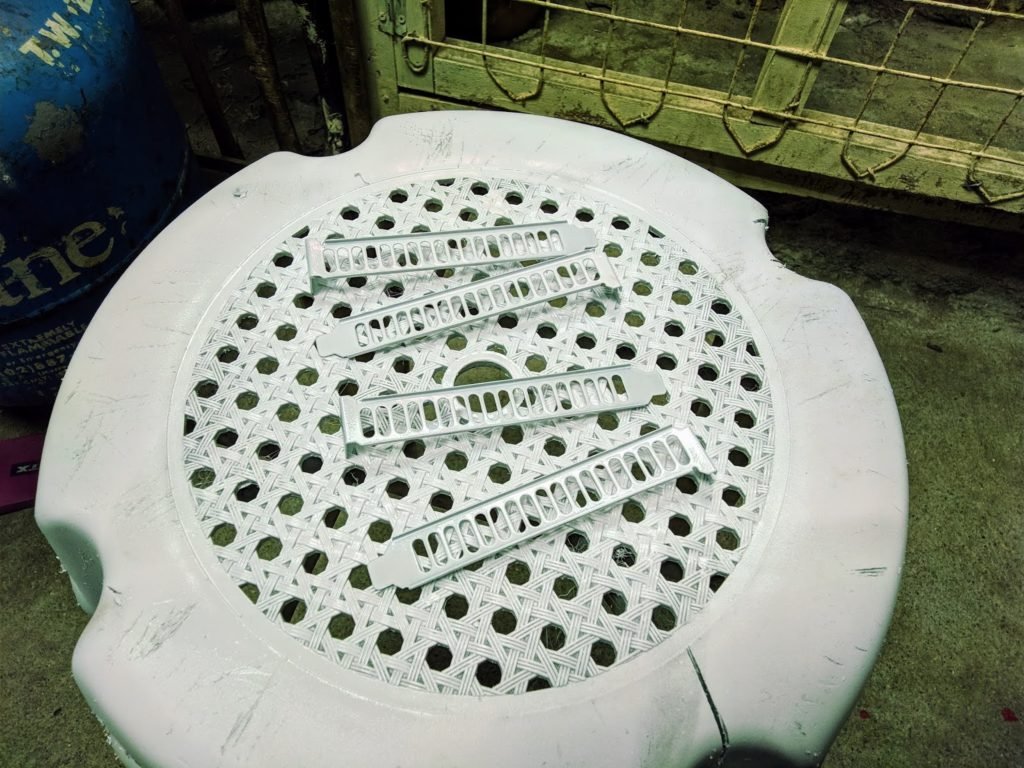
I also have a few PCI-E covers that I had from my previous builds, I think this is from Silverstone. I got lazy and just painted this with white spray paint as is.
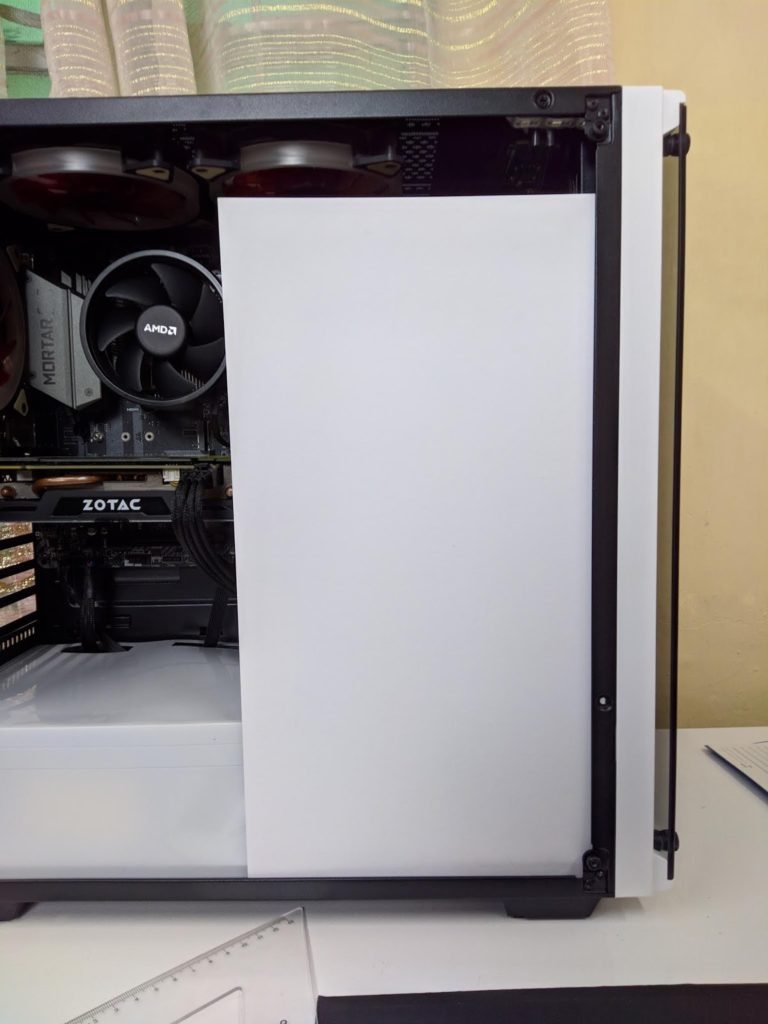
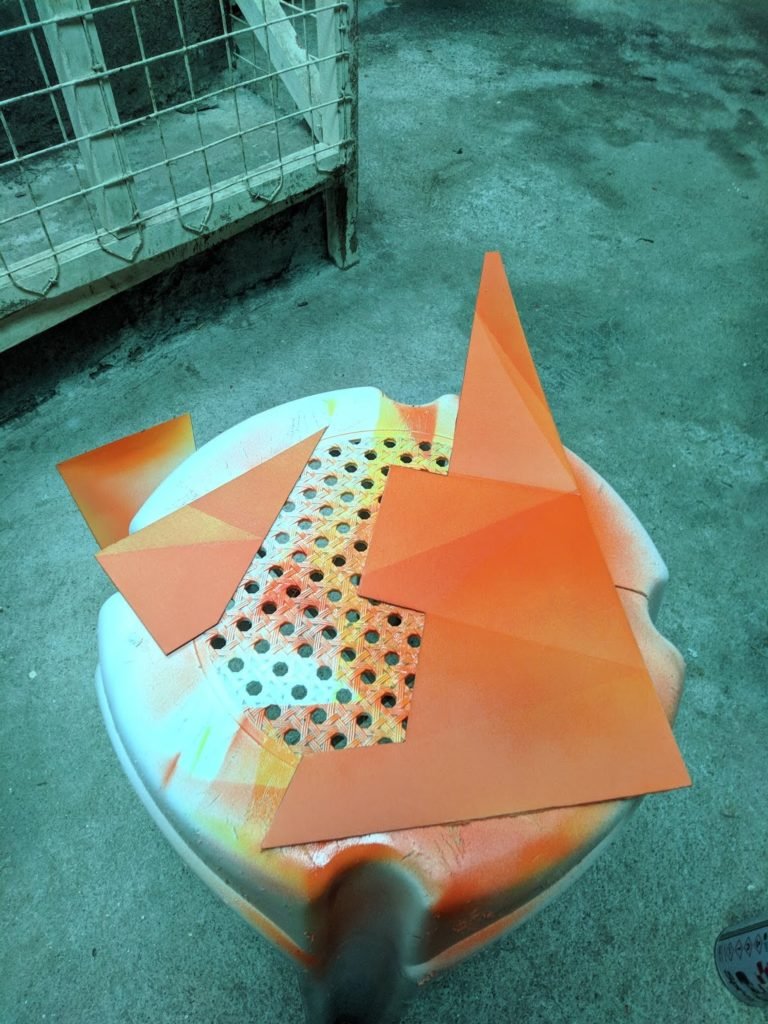
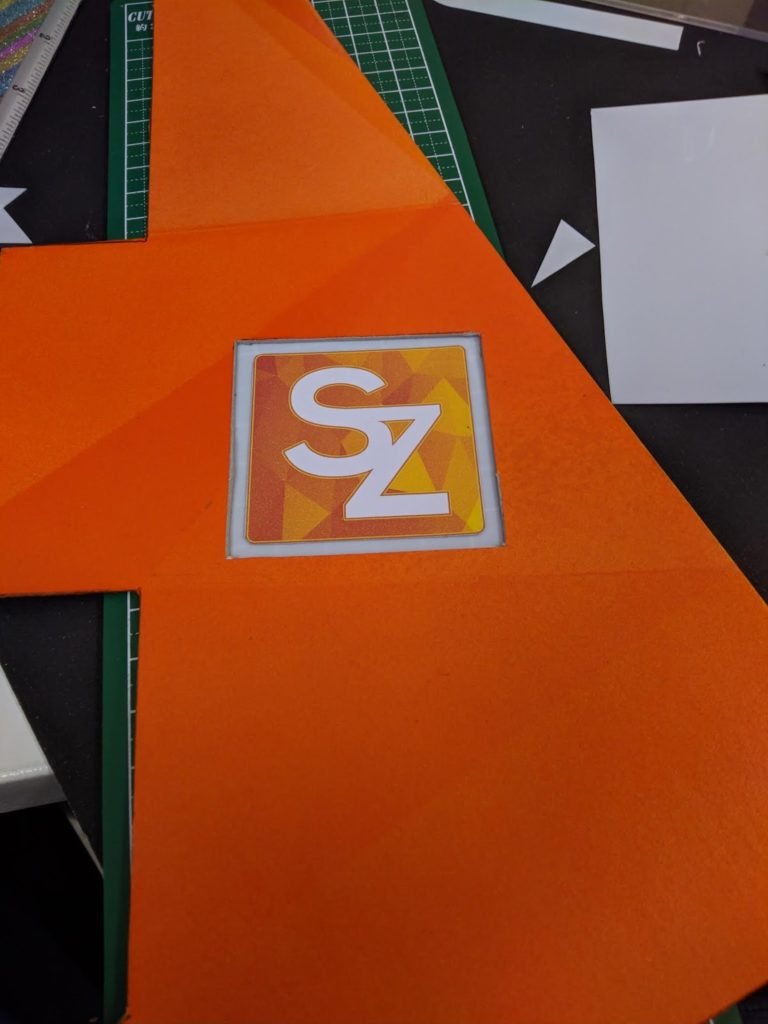
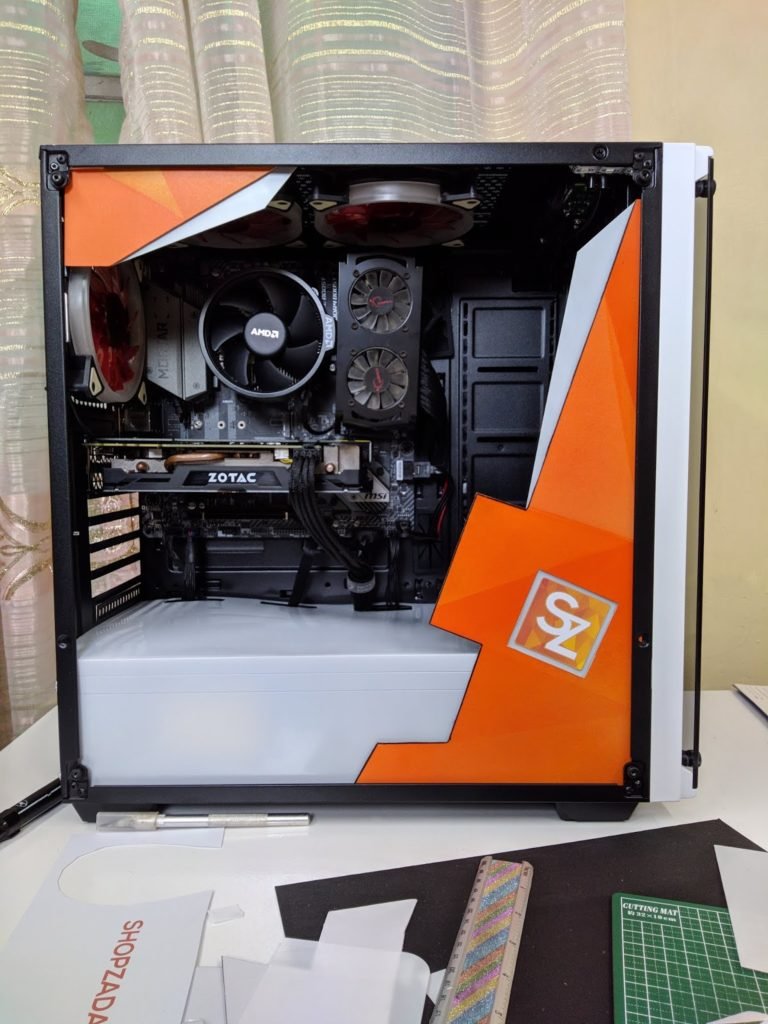
Now for the side panel, to be honest, I didn’t plan on doing this, It was just a spur of the moment to add a little bit of flair to the case mod. With that said, I decided to use an illustration board for this, ideally, modders use acrylic glass, but I have limited budget partnered with limited time so I decided to go with the illustration board route.
The design was also decided right at the moment including the shape, dimensions and the paint job. I used a combination of orange and yellow and used some masking technique to come up with the ShopzadaPH iconic triangular pattern.
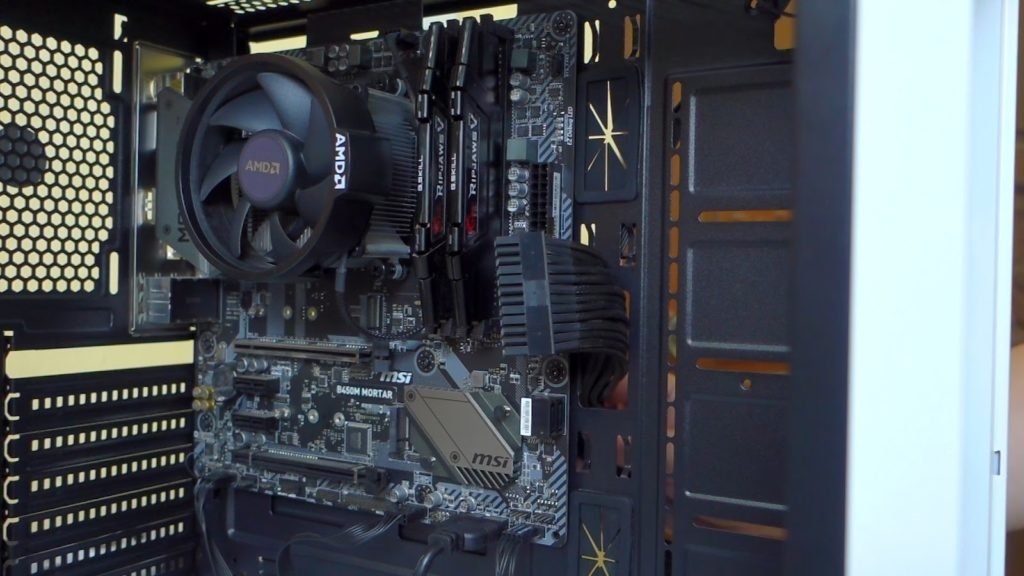
Rakk Hawani Flow Build Experience
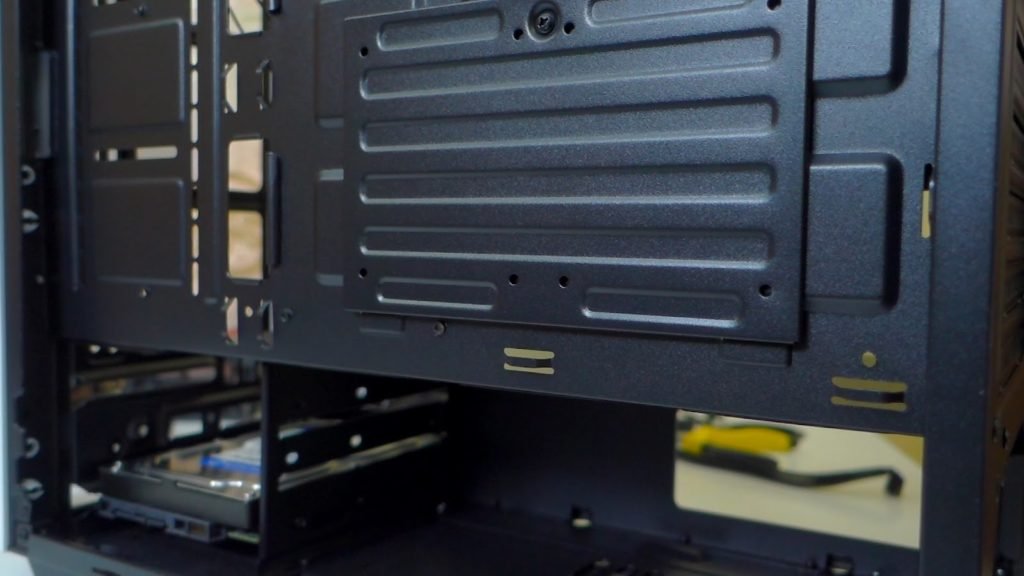
The first thing I noticed is the hard drive cage since there’s no removable hard drive caddy, it’s a bit finicky to install the hard disk.
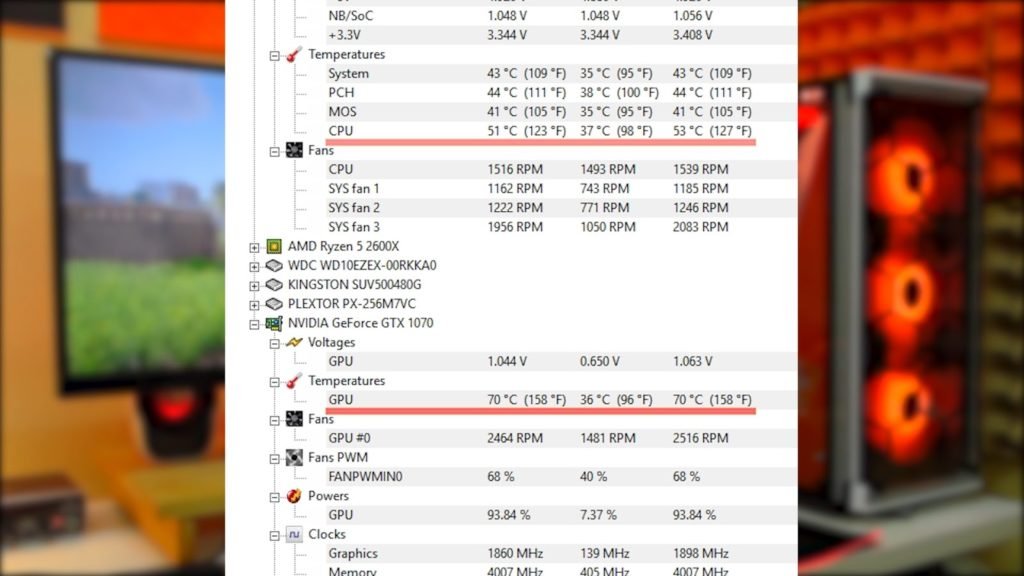
Rakk Hawani Flow VS Rakk Anyag Frost Thermal Comparison
VERDICT
Related Article:
Rakk Hawani Flow Mid Tower Case Review – New and Improved
Rakk Anyag Frost Review – Cheapest Black and White Micro-ATX Case
Ryzen 5 2600X Build with Nvidia 9500GT – ShopzadaPH PC Build 2018
Rakk Hawani Flow Budget Case Mod + Build Experience
WHERE TO BUY:
LAZADA: Rakk Hawani Flow Mid Tower Case
- Enjoy Cash on Delivery and Nationwide Shipping on Lazada
- Price may vary depending on existing promos
- The views and opinions on this review are solely based on my own personal experience, your results may vary

The Broll who always got your back online!


