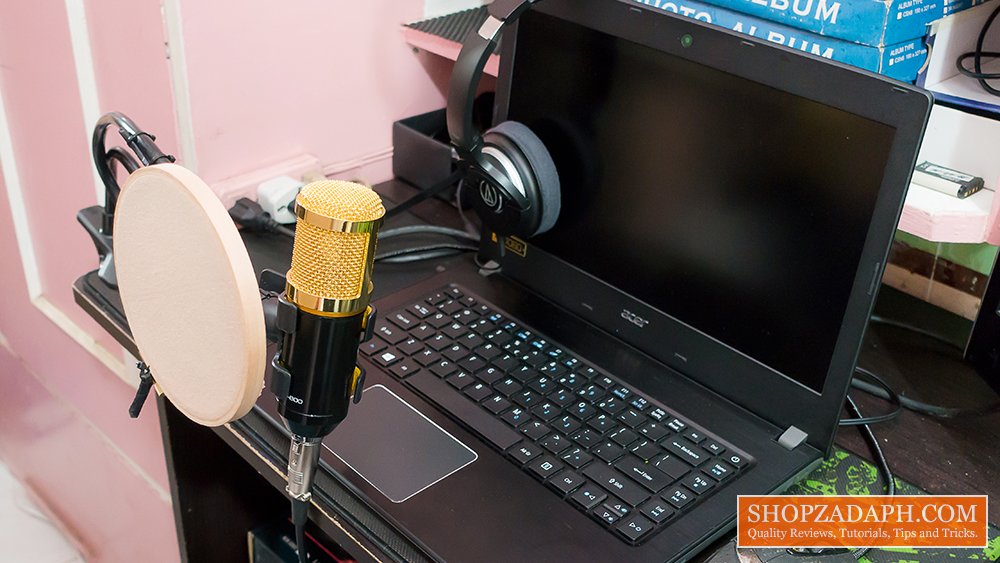
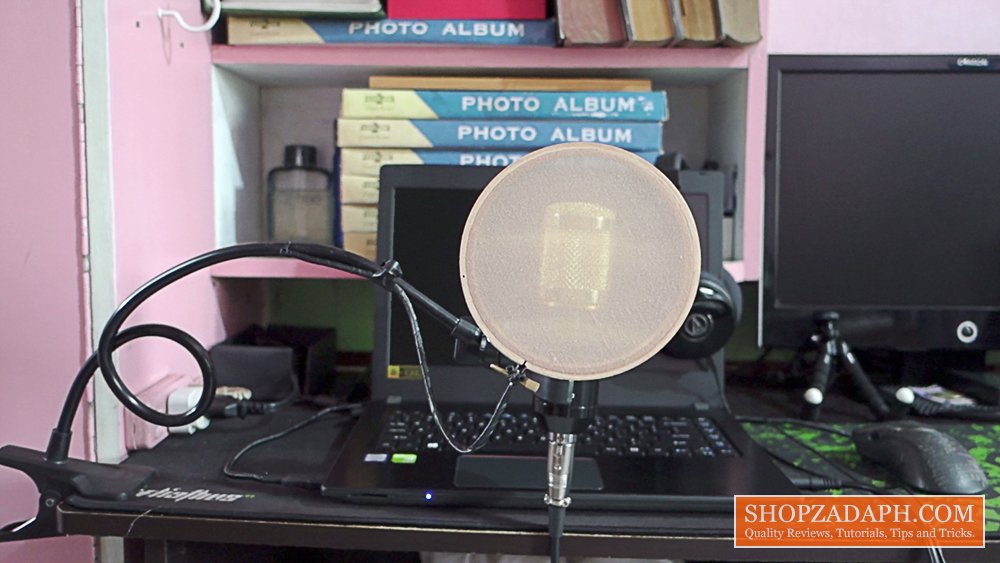
As an aspiring videographer, recording good audio is a must. Aside from the quality of your video clips, audio quality can also make or break your video project whether it’s in your background music, dialog or narration. There’s a lot of factors to consider for an overall better quality audio recordings, today we’ll discuss on how to improve your audio recordings using a DIY pop filter for your microphone.
(adsbygoogle = window.adsbygoogle || []).push({});
What is a Pop Filter?
A pop filter or pop shield is a noise protection filter for microphones, typically used in a recording studio. It serves to reduce or eliminate ‘popping’ sounds caused by the mechanical impact of fast moving air on the microphone during recorded speech and singing.
It basically reduces the pressure of the air coming from your mouth to the microphone allowing for a much more clearer audio.
Other use of a Pop Filter?
A pop filter can also protect your microphone from unintentional spitting when you speak or sing through the microphone.
Why not just buy a Pop Filter?
You can argue that buying a pop filter is much easier than building it yourself and it’s actually not that expensive. The thing is, when you buy a pop up filter, when it becomes damaged or becomes dirty in someway, you can’t just replace the mesh part of it but when you built it yourself, you can just replace the panty hose without additional costs. You can also customize it on how it looks like.
How to make a DIY Pop Filter for Microphone
What are the materials needed?
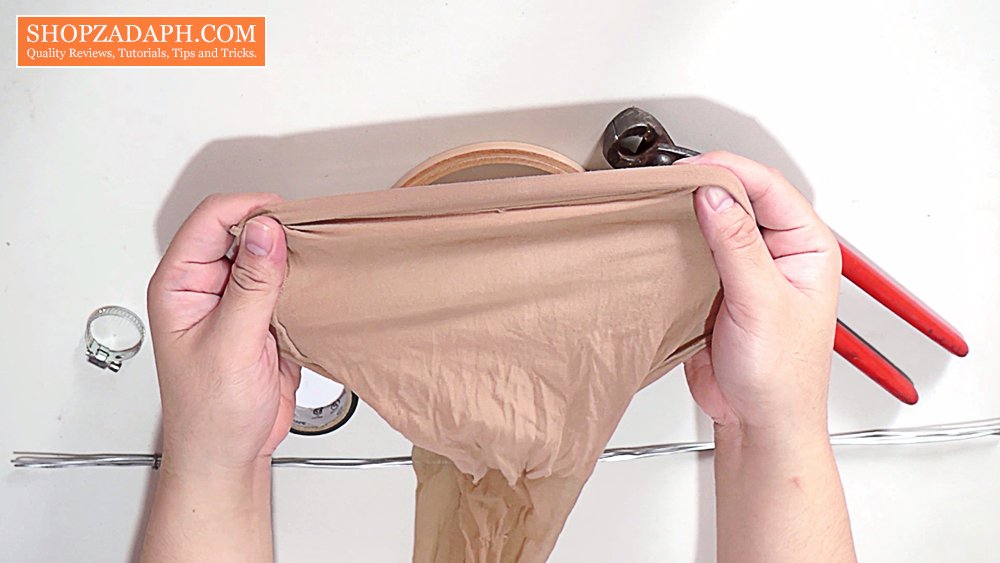
– Embroidery loop
– A flexible wire(s)
– Wire cutter
– Electrical tape
– Zip ties
– Hose clamp
– Panty hose
– Hose clamp
– Panty hose
(adsbygoogle = window.adsbygoogle || []).push({});
Here’s a quick video tutorial that I made on how to make a DIY Pop Filter
– The microphone seen on the video is a cheap but decent quality unbranded BM-800
Condenser Microphone. I will make a separate review about that, subscribe if you’re interested.
– I used a cellphone clamp to hold my microphone steady.
– You can also create dual layer filter by adding another piece of panty hose on the other side of the embroidery loop.
(adsbygoogle = window.adsbygoogle || []).push({});
There you have it guys, I hope you can take away a thing or two from this short tutorial.
Thank you for dropping by, don’t forget to check out my other Reviews and Subscribe if you like. Cheers!
SHARE THIS


The Broll who always got your back online!


