I never imagined that one day I will be able to get my hands on a drone, more so a racing drone. Luckily, the guys from Pinoydrones reached out to me and asked me if I’m down to play with one of their racing drone, the Hubsan H122D X4 Storm, and of course, I said yes.
(adsbygoogle = window.adsbygoogle || []).push({});
Now, just to set your expectation guys, I’m not going to pretend that I know a lot about racing drones, but what I will give you today is my honest review basing from my personal experience playing with this drone. And I will supplement that with the things I’ve learned from my research so that by the end of this article, you’ll have enough information to decide whether this one’s the best drone for you.
SPECIFICATIONS
Material: Carbon Fibre
Motor: Coreless
Quadcopter Size: 3.7 inch X 3.7 inch
Battery: 7.6V (2S) 710mAh Lipo.
Flight Time: Around 8minutes
Charging Time: 150 minutes
Max Flight: 100±10 meters
Weight: 116.5 g
HD Camera: 720P
Memory Card: 4G TF card. Can support 32GB card class 4.
(adsbygoogle = window.adsbygoogle || []).push({});
PACKAGE CONTENTS
FULL REVIEW
Parts overview
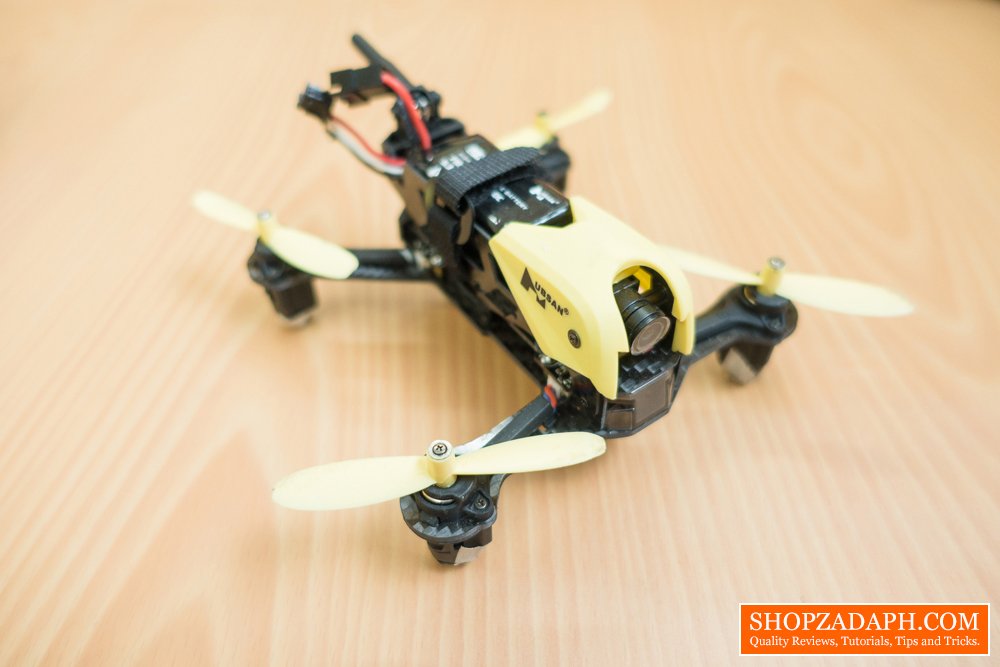
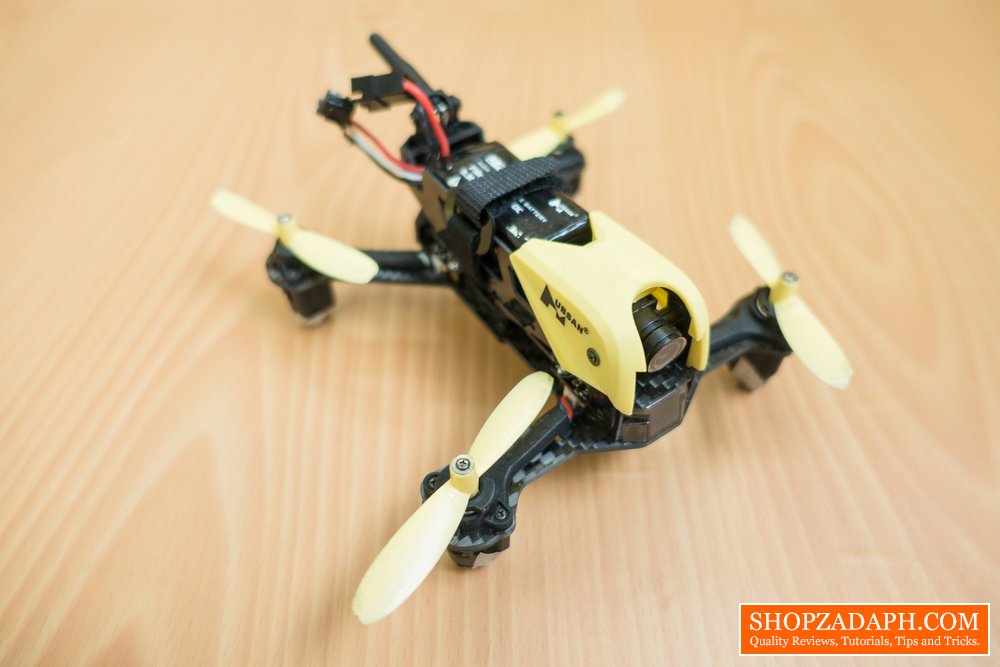
On each corner, you will see the propellers attached to each individual coreless motors.
(adsbygoogle = window.adsbygoogle || []).push({});
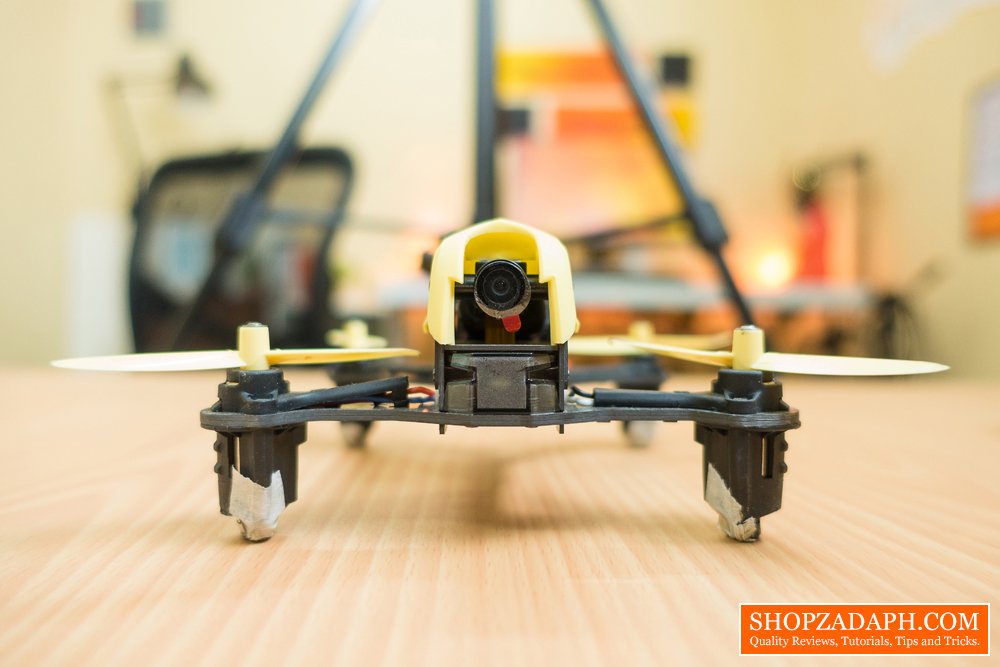
The built-in camera has a resolution of HD 720P and can take both photo and video while in flight. The output file format is MP4(MPEG-4 AVC/H.264). If you haven’t already, watch the video above to see the actual video quality that this camera can produce. In my opinion, the video quality is pretty decent for FPV racing, substantial to show you where the drone is heading. But if you’re planning to use this for cinematography, then you might want to look elsewhere probably something from DJI or GoPro.
There are two ways you can record photos and videos using this drone. One way is by inserting a microSD card directly on the drone and the other way is by inserting a microSD card on the LCD Display. If you want to capture photos and videos with the best resolution and image quality, insert the microSD card on the drone itself.
Motors and Propellers
The motors are coreless which are known to be energy efficient but has enough power to allow the drone to do 360 flips and rolls without any problem. And with the help of these motors, the drone can reach up to 25mph.
The motors are housed in each individual plastic housing. Directly connected to the coreless motors are the plastic propellers which can be replaced easily by just removing the screws.
Remote Control Transmitter
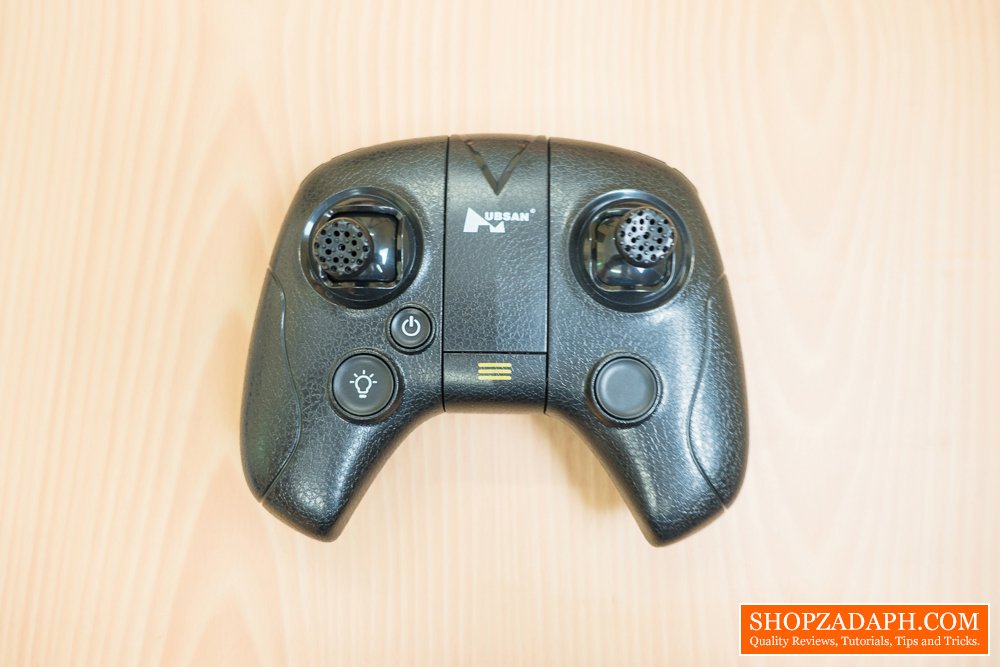
The transmitter has this ergonomic gamepad style design with nice texture on it. It uses a 2.4Ghz transmission signal and is powered by a 4xAAA battery. During our drone playday, we’ve managed to power this one using an external power bank through the micro USB port at the back which is pretty convenient if you ask me.
It has two shoulder buttons on the left side for photo and video capture and another two on the right for left and right trimming. In front, we have two joysticks. Left joystick for throttle/yaw, right stick for forward, backward and sideways movements. You can also see here the front LED light button and the power button.
With regards to my first experience using this, It’s actually easier than I thought. I mean, yeah for sure flying the drone in high speed would require a lot of experience on this controller, but for a beginner like me, I feel like it’s quite responsive in a way that you can actually feel every flick of the joystick giving you enough confidence that you can actually fly the drone with more practice.
Flipping the center console holder, you can attach the LCD monitor if you want to fly the drone with your line of sight which is advisable for beginners. And with enough experience, you can use the included goggles for a more immersive FPV (first-person view) flying.
(adsbygoogle = window.adsbygoogle || []).push({});
LCD Display and FPV Goggles
The included goggles is quite big at first glance but it’s actually lightweight, However, once you attach the 4.3″ FPV LCD Display that’s another story. The good thing is, it has a nice and thick foam padding to aid with the comfort. Personally, I wouldn’t worry about that though as you only have about 6-8 minutes of flight time and during that period you’re probably more focused on flying than the comfort on your face.
As mentioned, the package includes a 4.3″ LCD Display that you can use to monitor your flight in either through your line of sight or through a more immersive FPV mode using the goggles. Technically, you can still fly the drone without the LCD Display but your flight distance would be limited by your own eyes. Using the LCD display will allow you to fly up to 100m give or take depending on the interference.
The LCD Display has buttons that you can use for photo and video recording, monitor settings, binding, etc. You can also insert a microSD card on the right side of the monitor so you can take photos and videos while in flight.
When we used this outside as you can see again in the video above, I was impressed by the clarity and brightness of the display. Even without using any sunshade, we didn’t have any difficulties seeing where the drone is heading.
Battery and Flight time
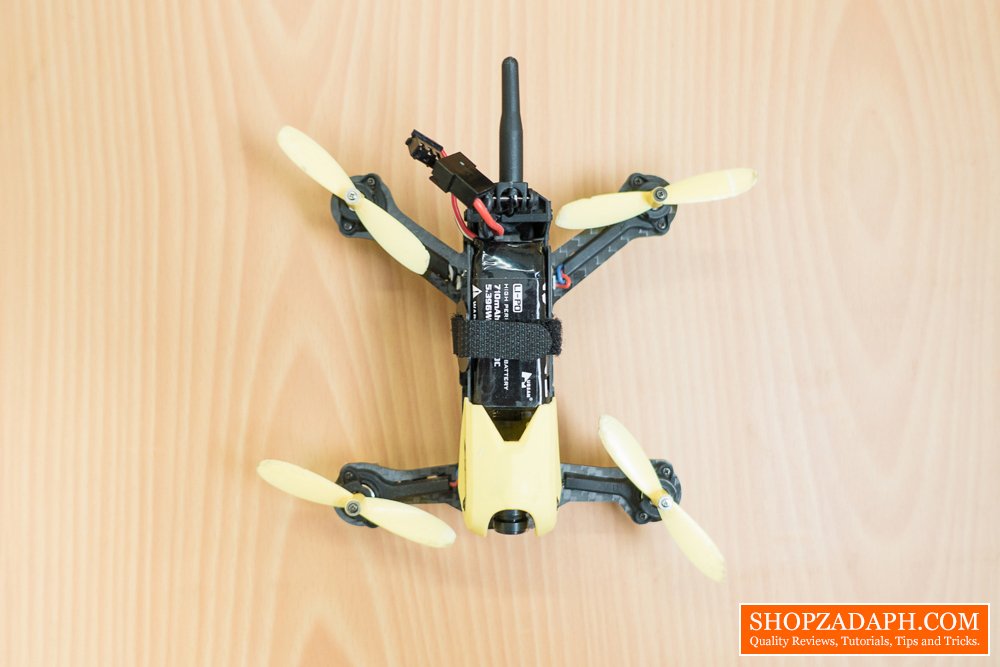
The package includes a 2S 710mAh LiPo battery that fully charges for about 150 minutes
and can last for around 6-8 minutes give or take. In practice, this is a fairly standard flight time but I would suggest you get a couple of extra batteries to enjoy flying this drone, especially if you’re just a beginner like me who needs a lot of practice. Extra batteries will give you a long way to go, literally.
The Image below shows the drone without the battery.
(adsbygoogle = window.adsbygoogle || []).push({});
Hubsan H122D X4 Storm Video Tutorial Series (All you need to know)
Open field flight test video

The Broll who always got your back online!

