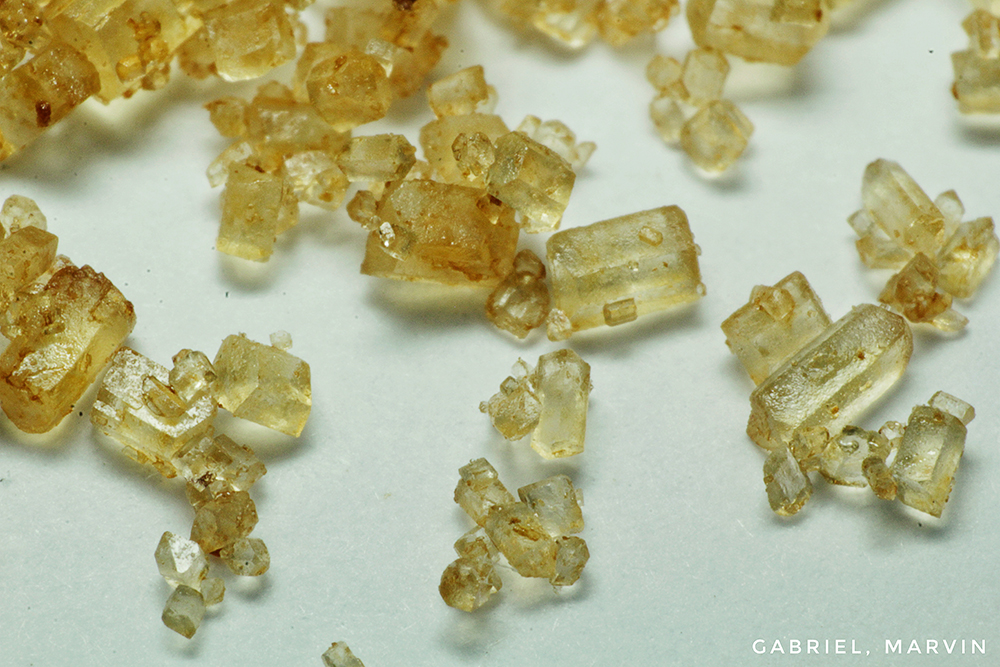
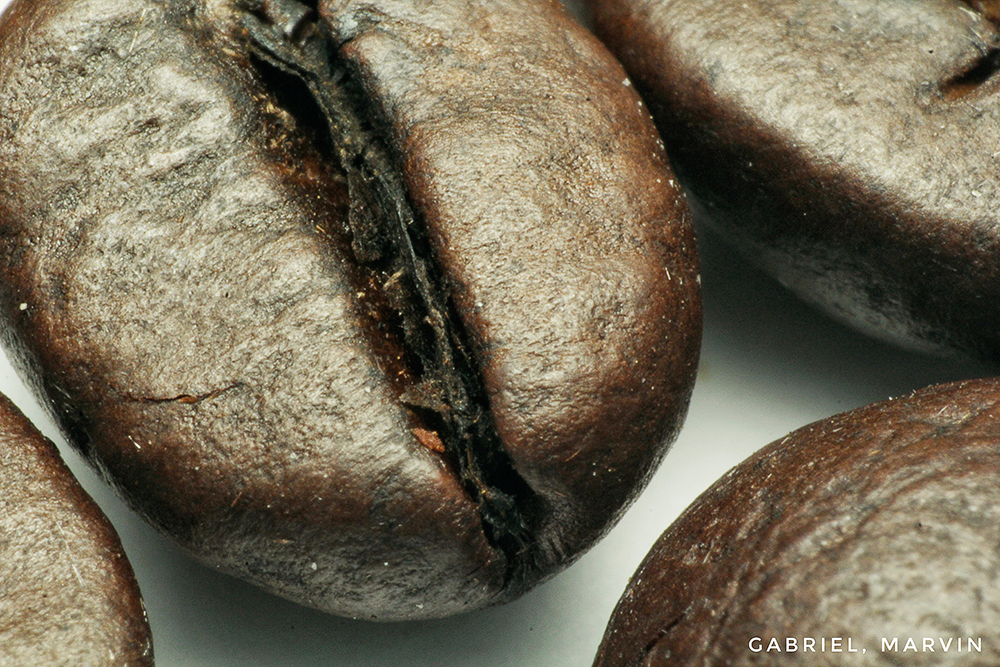
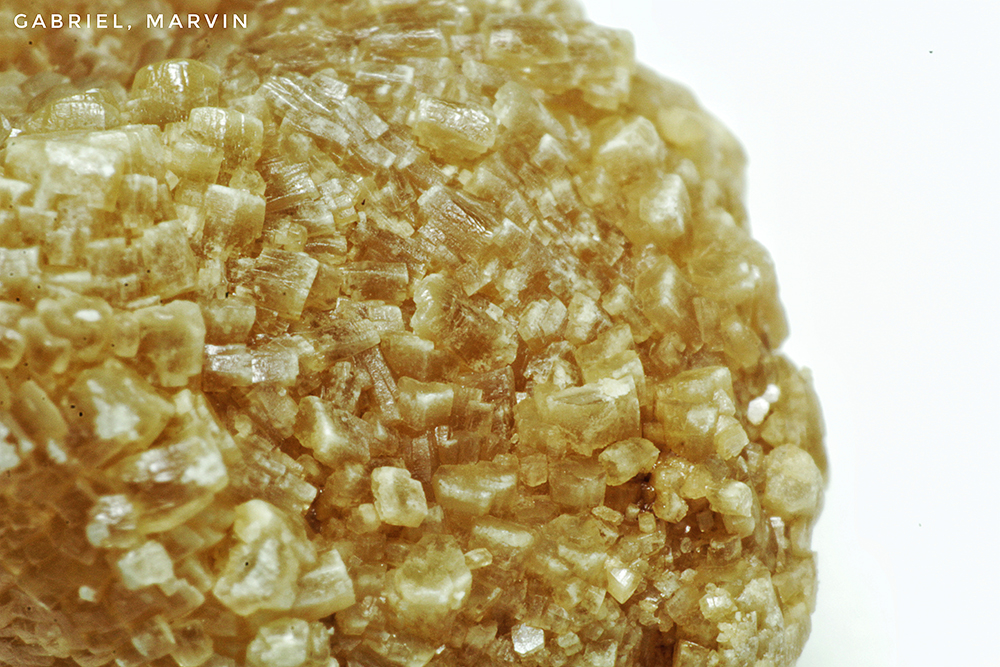
Due to personal reasons and busy schedules I was not able to shoot macro photography outdoors for a very long time now. But that doesn’t mean I can’t shoot macro anymore right? so I’ve decided to try indoor macro photography and I actually loved it. It gave me a different perspective on the things lying around our house, from close up shots of coins, flowers, food, household items to close up shots of very interesting subjects such as food molds, human hair, and even my wife’s kidney stones (yeah, I took a shot of it for remembrance).
(adsbygoogle = window.adsbygoogle || []).push({});
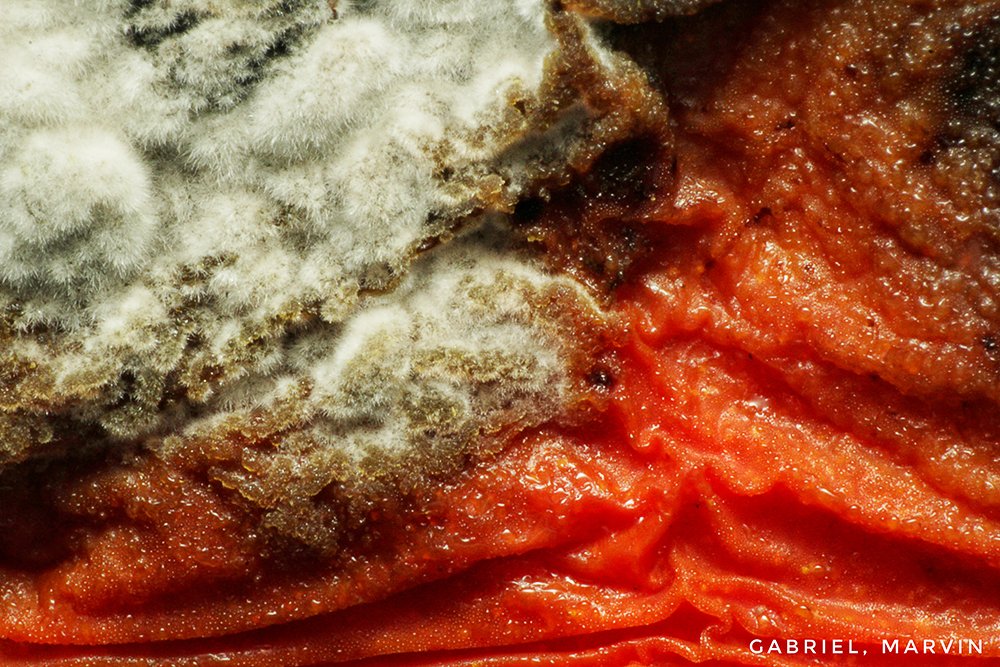
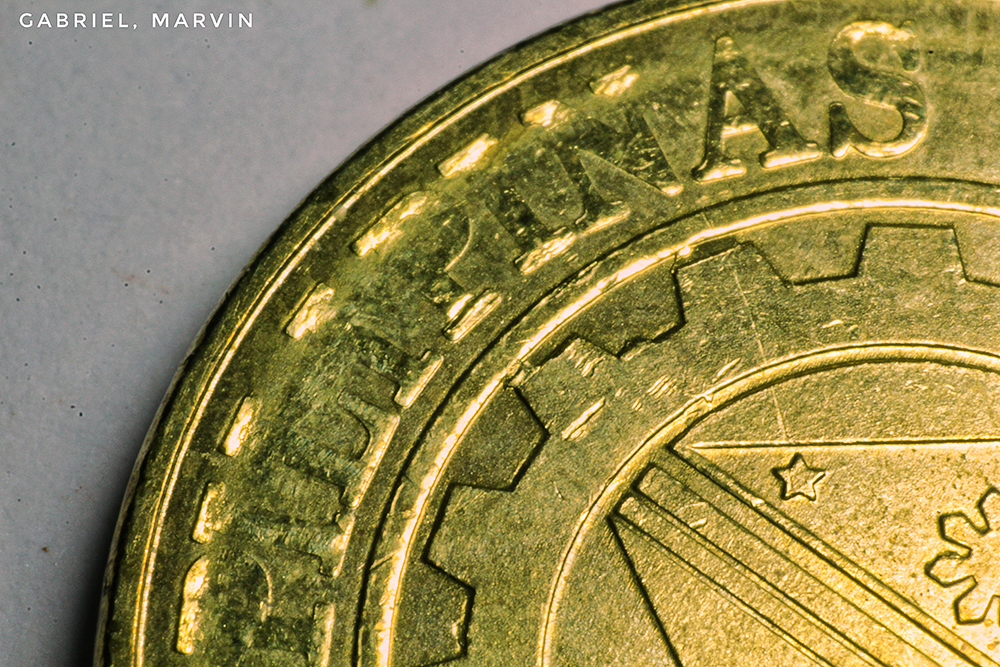
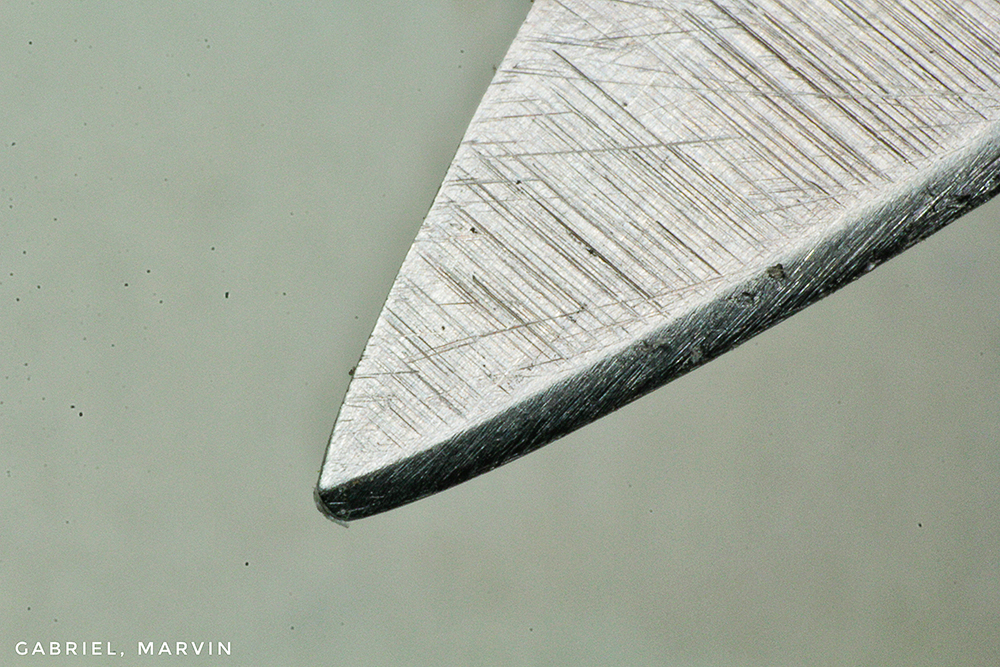
Before we start with the tutorial, let me show you what shots I got so you will have an idea.
Here’s a collection of images I took for my Indoor Macro Photography


Now that you have a little bit of an Idea about the type of shots you can get using my method, Let’s break down the gears that I’m using.
Basically, the method I’m using is the most affordable approach to DSLR macro photography and it is the reversed-lens method. you can learn more about reversed-lens photography here.
(adsbygoogle = window.adsbygoogle || []).push({});
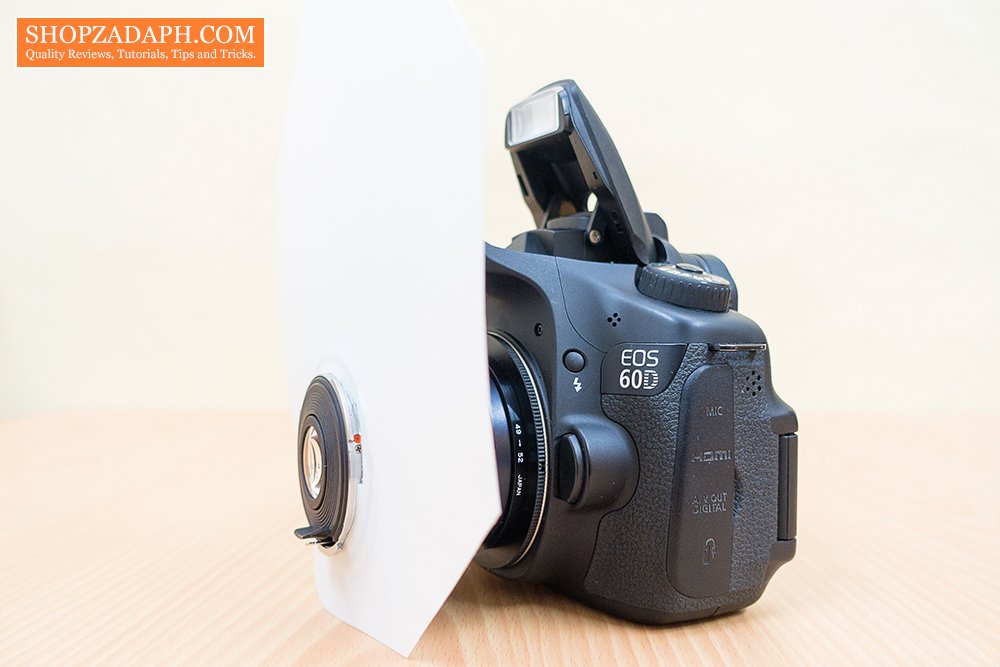
List of Items that I use on my reversed-lens method:
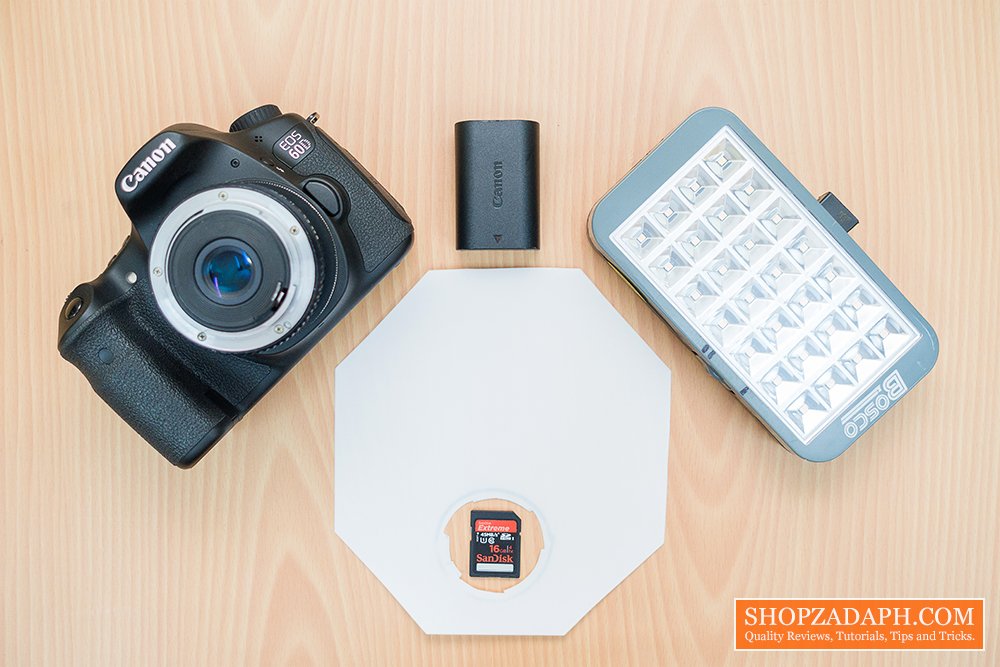
Canon 60D (you can use any DSLR camera)
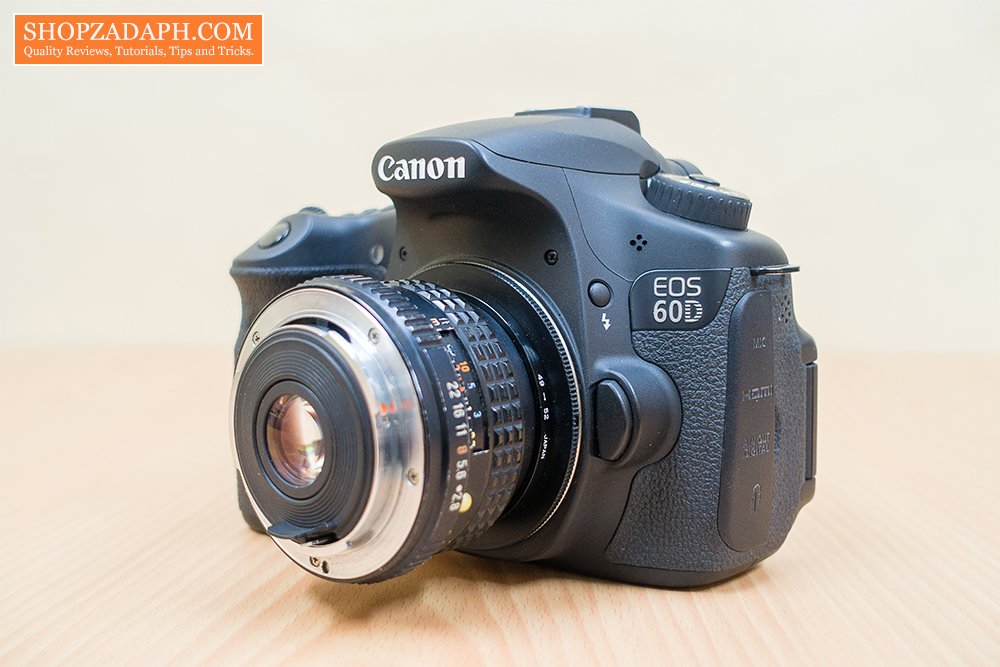
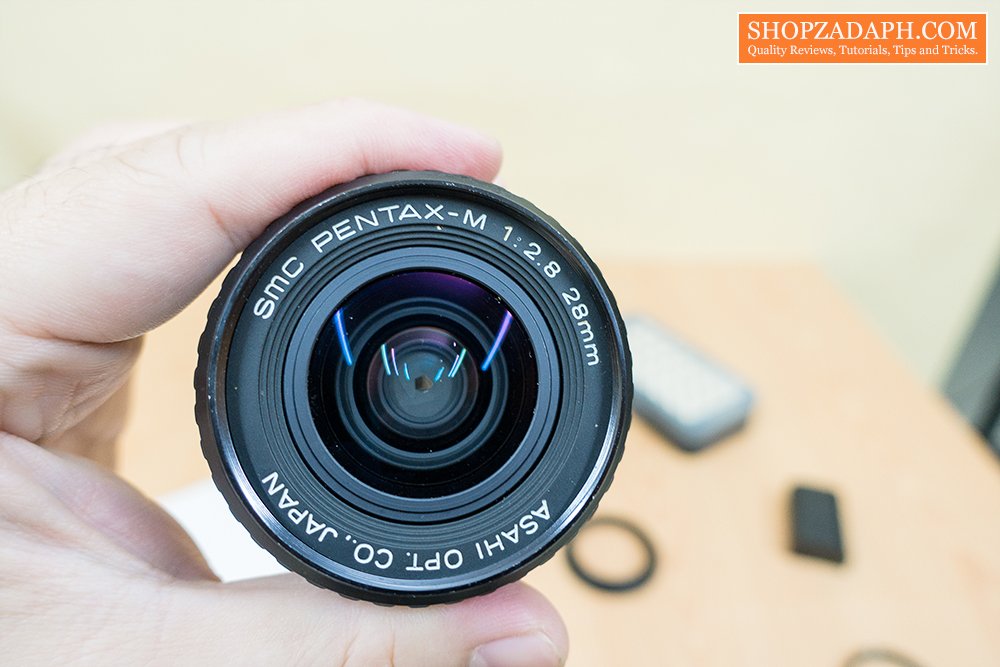
Pentax 28mm f2.8 (you can use any Manual Prime lens as long as it’s compatible with your reverse ring.) when you reverse the lens you will lose the electronic capability of the lens so using a manual lens will allow you to set the aperture manually.
Reverse ring adapter (make sure to get the one that’s compatible with your camera, in my case I use the canon version)

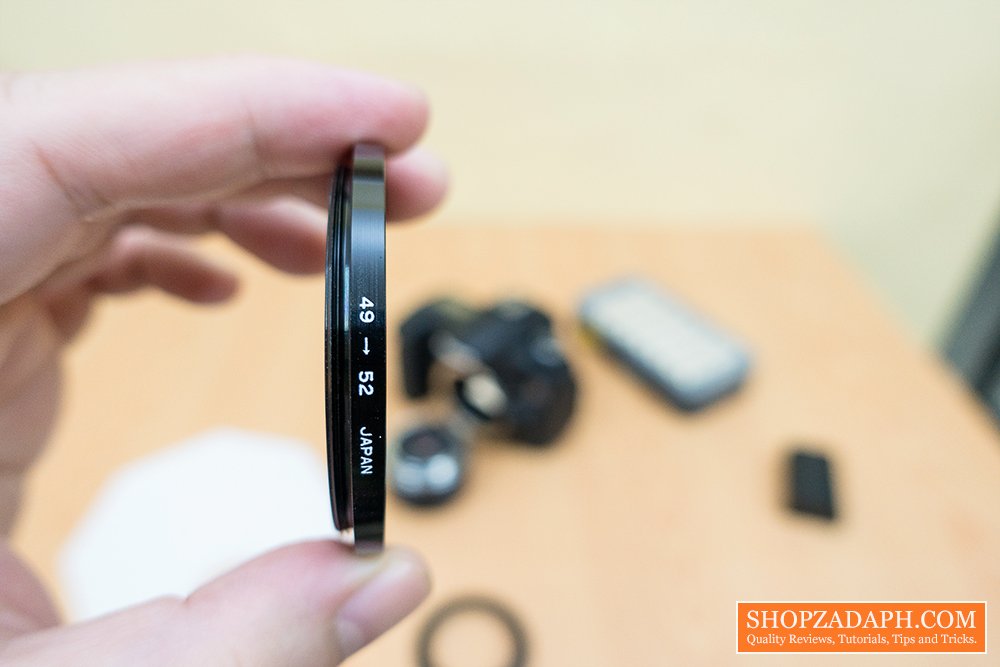
49-52mm Step up ring (use this if you are going to use the same lens that I use)
DIY Pop up flash diffuser (you can make one using any plastic folder)
SD Card (you can use any SD Card as long as it’s compatible with your camera)
LED Lights (you can use any light source)
(adsbygoogle = window.adsbygoogle || []).push({});
Now that we have all the items needed in check, let’s get into the actual video to show you
How to Shoot Indoor Macro Photography
As you saw in the video, the reversed lens method that I’m using is pretty easy especially when shooting still subjects. Assembling the gears together is straightforward too.
Now, when it comes to the camera settings, here’s what I typically set on my camera
Indoor Macro Photography Camera Settings
Shutter Speed: At least 1/100 (the lowest you can safely use is twice as your lens’ focal length. Example: 28mm x 2 = 56, ideal shutter speed = 1/60) more on that here.
Aperture: I manually set it to f22 to have more details in focus (be aware that setting the aperture to the maximum will result in diffraction. more on that here.
ISO: I set this to the lowest possible ISO and adjust accordingly (Lower ISO means less image noise).
Focus: I manually set it to infinity (so that I can just focus the camera by moving it back and forth).
Pop up flash: I set the flash power manually depending on the amount of exposure I want on the subject.
(adsbygoogle = window.adsbygoogle || []).push({});
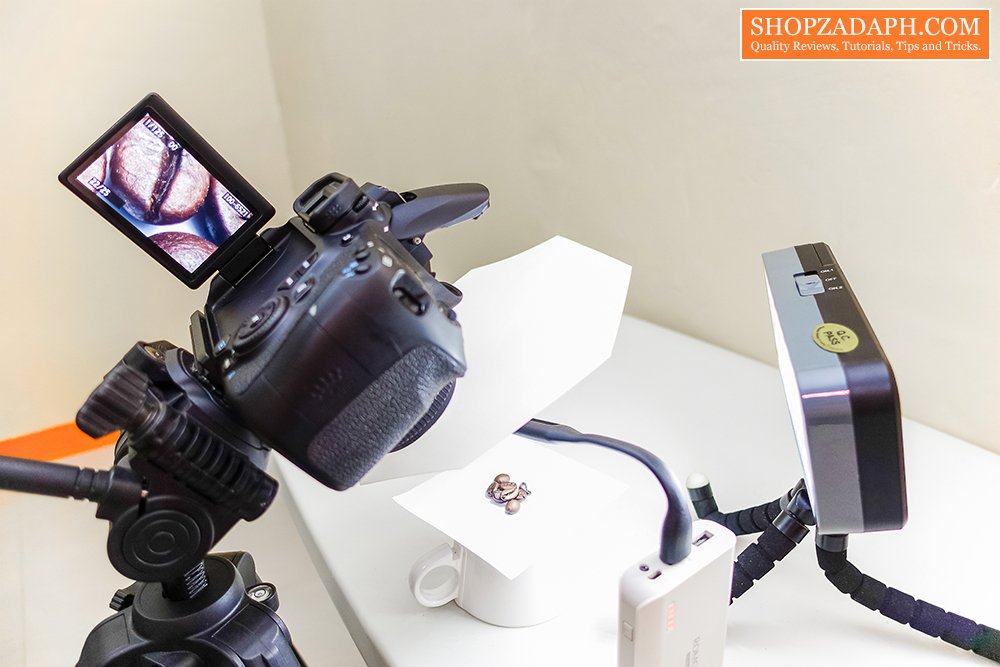
For the actual shooting, I set a platform for my subject so that I can easily focus on it using my camera. You just have to use a tripod for stability and use the tripod as well to focus on the subject by moving the camera back and forth as seen in the video above. You can also set a timer before pushing the shutter button to minimize the camera shake and you’re all set. Make sure to enable the Pop-up flash before you take the shot or else you’ll just get a black image.
For editing the images, It actually depends on your workflow. You can edit your images on your desktop PC using any image editing software like Adobe Lightroom and Adobe Photoshop. For this particular shoot, I choose to edit the images using just my smartphone using Nik Software’s Snapseed app to show you guys how easy it is to edit on the go.
(adsbygoogle = window.adsbygoogle || []).push({});
There you have it guys, I hope you learn a thing or two with regards to shooting macro indoors or just shooting macro in general. I also hope you like this kind of tutorials on my blog. Please let me know in the comments below what you think about this. Thank you!

The Broll who always got your back online!